
Manual Installation, Upgrade, and Registration of Desktop Agent
Note: A user with administrator privileges must perform the installation.
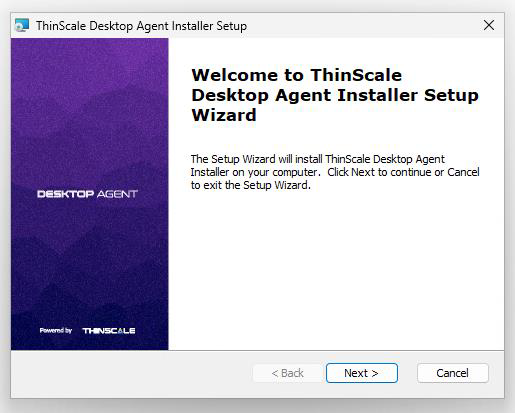
1. Copy the installation media to a temporary folder on a local drive and run the installation media (ThinScaleDeviceAgent-8.x.msi)
2. Click "Next"
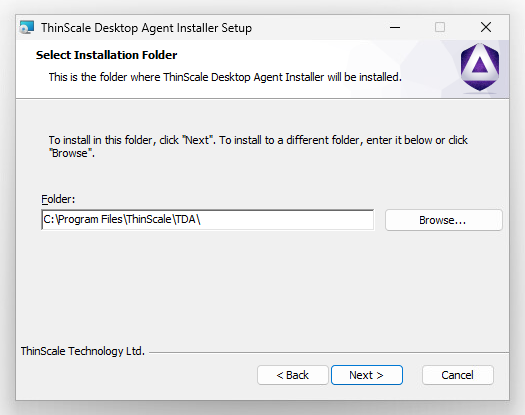
3. Select the installation folder and click “Next.”
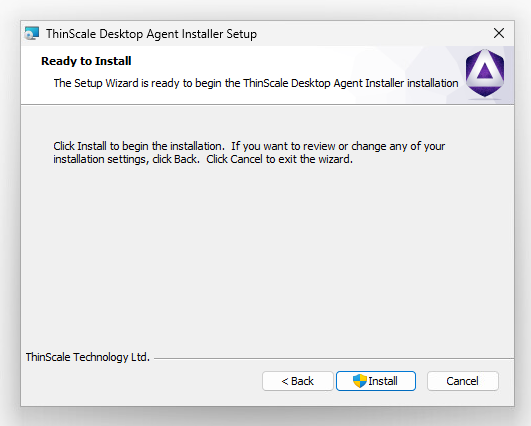
4. Click "Install"
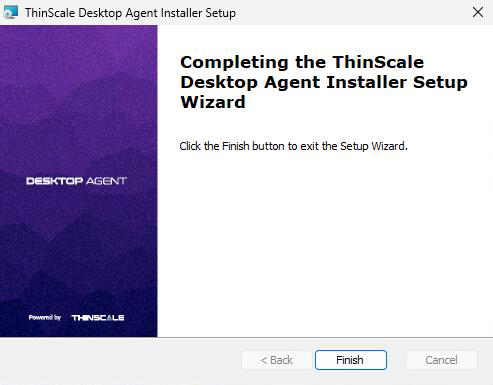
During installation, the ThinScale Desktop Agent Setup Wizard will launch. Please see the section below for details of the available configuration options.
ThinScale Desktop Agent may prompt to restart the device if a reboot is required.
THINSCALE DESKTOP AGENT SETUP WIZARD
The new ThinScale Desktop Agent Setup Wizard will launch upon clicking the desktop icon.

REGISTRATION CODE
The Registration Code is a faster way of connecting a device to the Server and is done via the ThinScale Portal.
Note:
Only On-Prem Servers support Registration Codes for now. Cloud Device Portal will support it soon.
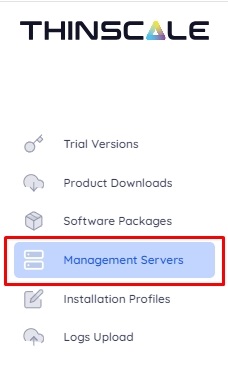
1. Open the ThinScale Portal and click “Management Servers” then on the top right corner of the button “New Management Server.”

2. Click the “Import Signing Keys” button.
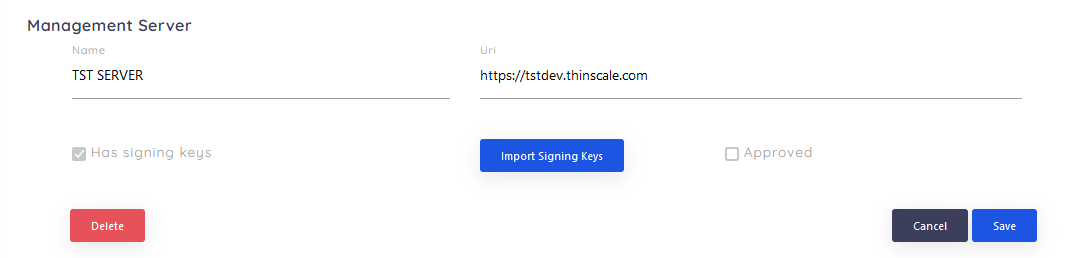
3. A “Signing Key” is exported as an XML file from the ThinScale Management Server Configuration. Export the file and then import it into the ThinScale Portal.

4. Click on the “Save” button on the ThinScale Portal.
A member of the ThinScale Team will approve the request as soon as possible, but if a request is pending for more than 30 minutes, please email support so an agent can approve it immediately.
Once done, the Server will be approved, and you can start using the new registration codes. 
5. Open your approved management server, click the “Add Registration" button, and create the code.

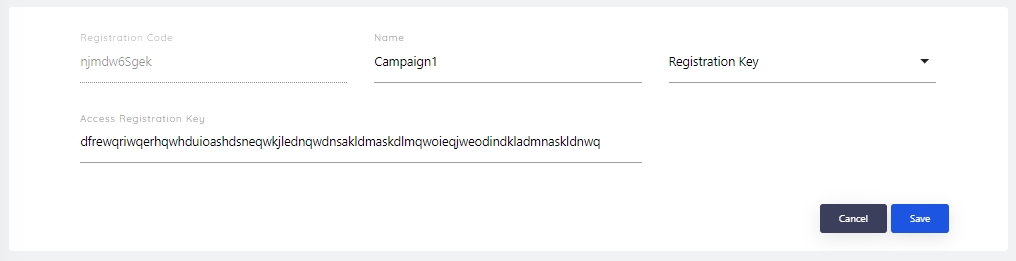
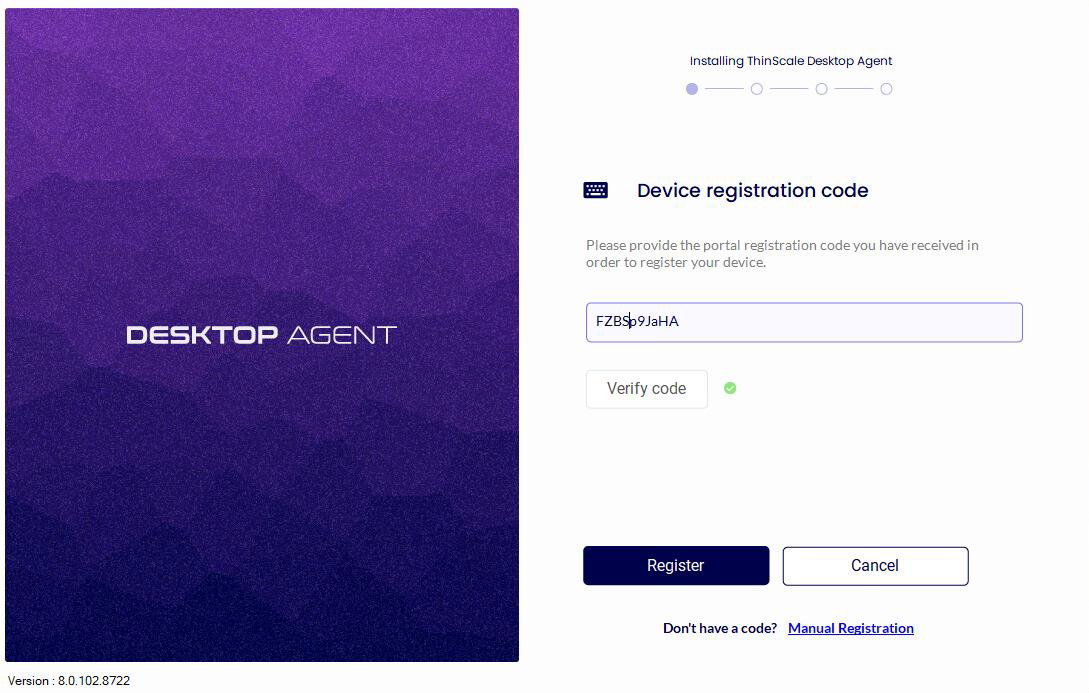
6. Use the registration code on the Installer.
MANAGEMENT URL AND ACCESS KEY
1. Use your management URL and the access key.

2. Click “Verify code”; you expect to get a “GREEN” confirmation, and then click on “Register.”

The setup wizard will apply your configuration. If the wizard succeeds, it will automatically close upon completion, and a reboot will be required.
The Reboot is mandatory to apply the TDA configuration at the next Windows launch.
If the configuration steps fail, you can view the setup log for detailed information.
UPGRADE SECURE REMOTE WORKER OR THINKIOSK TO TDA
ATTENTION
The TDA removes the Secure Remote Worker and Thinkiosk from the machine, which means VIRTUAL DISKS (Dual Persona / Temporary Storage) will be deleted.
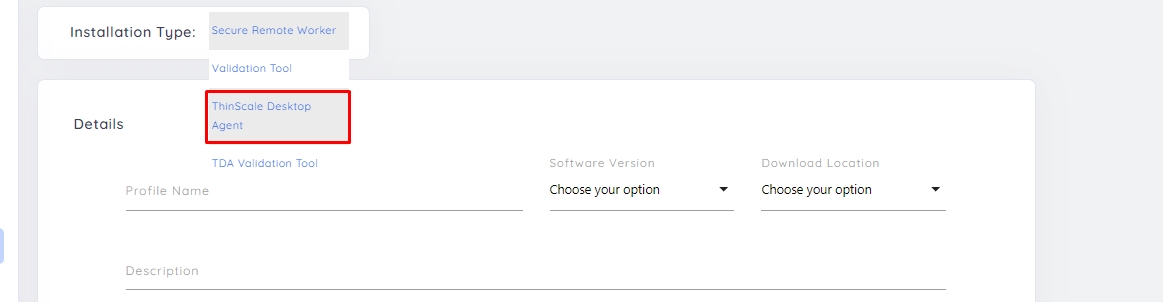
For on-premises environments, you should create a Single Click-Install of ThinScale Desktop Agent on https://my.thinscale.com/, and share it with the agents.
The installer will first remove the SRW/TK from the machine and then install the TDA, registering the machine back to your management console. If you haven't set up the TDA profile in your console, please refer to this article.
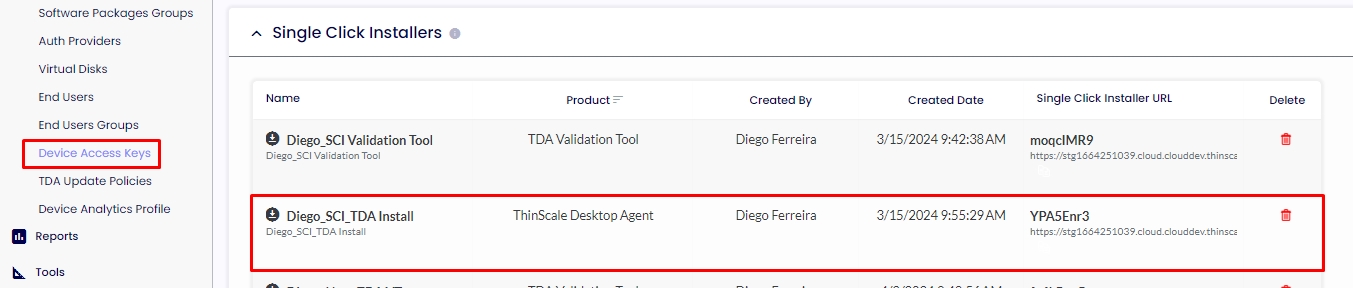
For cloud versions, you can use your SCI from your Cloud Portal, located under your “Device Access Keys" in the “Single Click Installers” section.
Here is a quick video from the end-user experience.