
DEVICES
The Devices Tab collects all the Devices registered within the Device Portal.
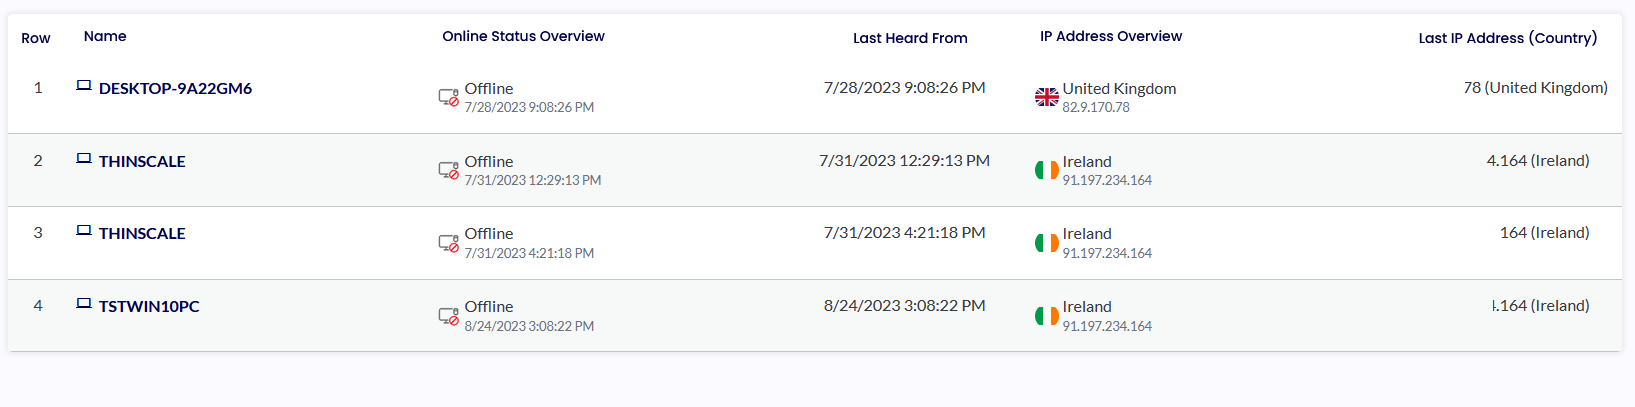
You can sort the Devices using different views and filters.
To create a new View, click the “Views” button on the top right corner and then “Customise View.”
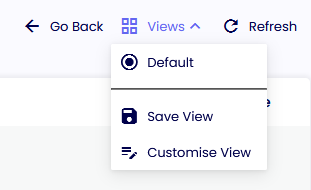
Select the filtering you want to apply, give it a name, and click Save.
DEVICE GROUPS
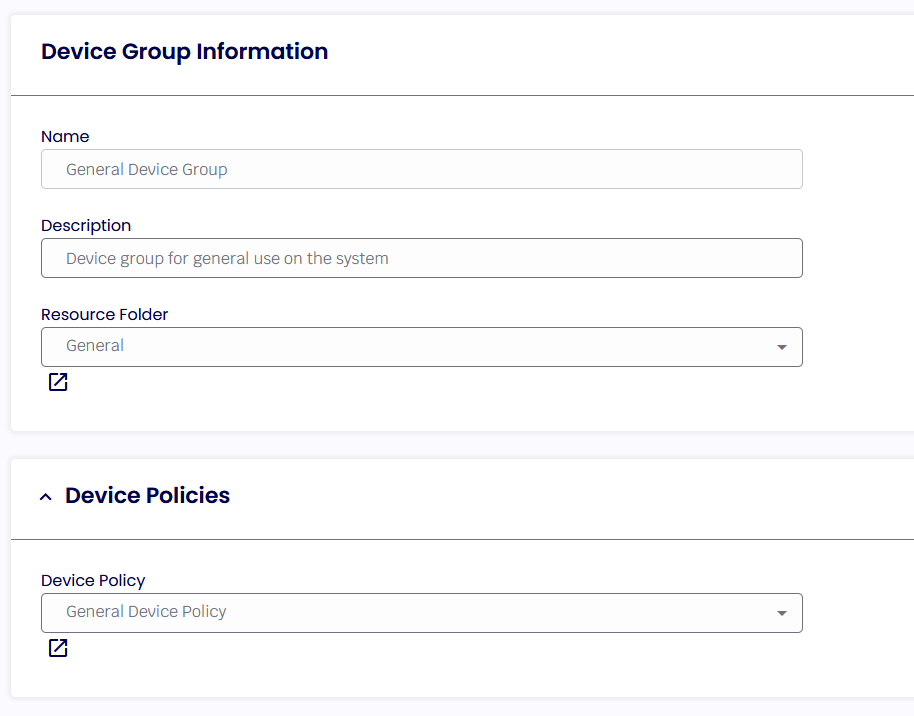
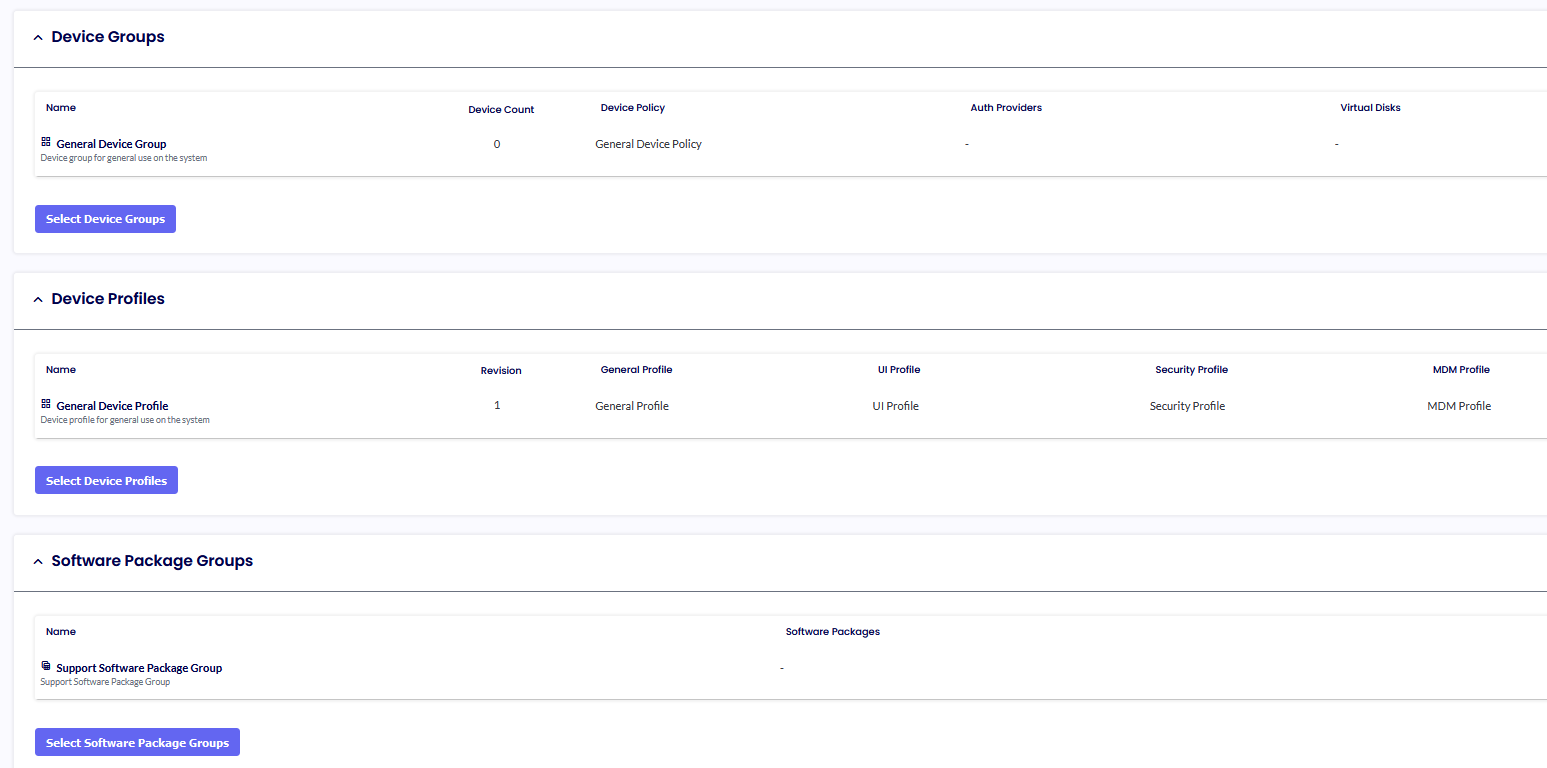
The Device Groups is the main repository where all the Devices and Device Configuration are stored.
Inside the Device Group Information, you will find settings like Device Policy, TDA Update Policy, Auth Providers, and more (See Point 7 for more info).
You can also view all the Devices deployed within that Device Group.
CONFIGURATION
The Configuration tab is the central repository for storing and managing all device settings, encompassing everything from Profiles and Software Packages to Virtual Disks. This is the primary location for configuring these settings.
Config Assignments
The Config Assignments tab connects all the settings applied to the Devices and the Resource Folder where the Devices reside.

There are two modes:
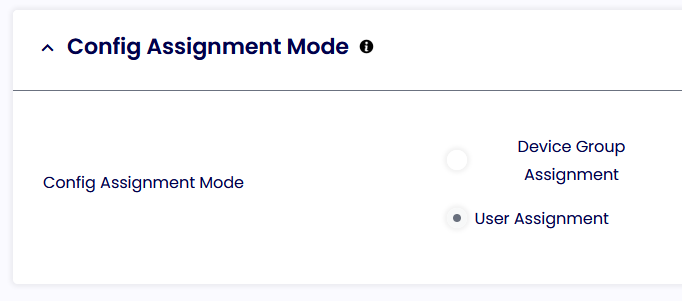
Device Group Assignment: the settings are deployed to the Device without considering the User logged in to the machine. i.e., User 1 and User 2 use Machine 1 at different times, and they will both retrieve the same Device Profile.
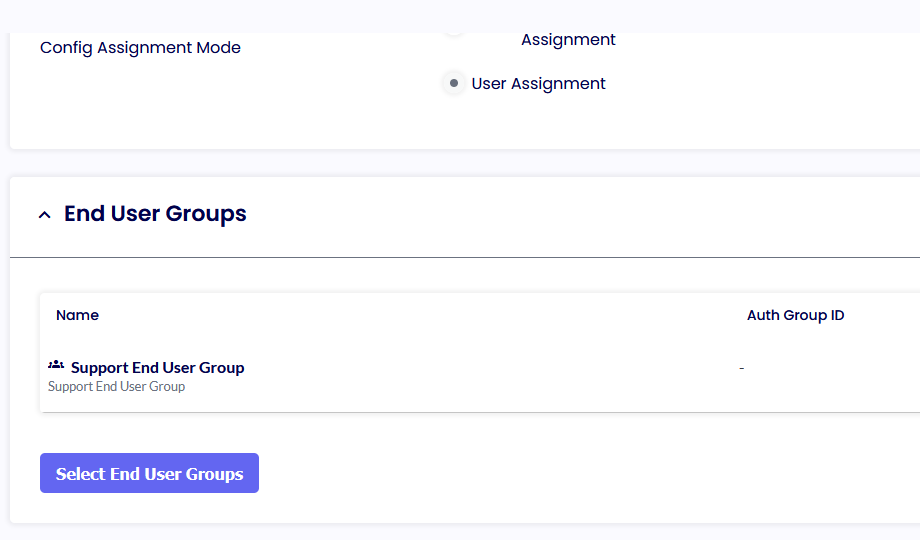
User Assignment: the settings are deployed to the Device based on the User logged in to the machine. i.e., User 1 and User 2 use Machine 1 at different times, and they will retrieve different profiles based on their Auth Provider group. (the same profile will be delivered if they are part of the same group)
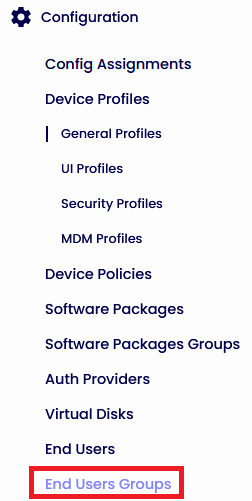
To use User Assignment, an End User Group needs to be created.
Click on the “End User Groups” Tab and the “Add”
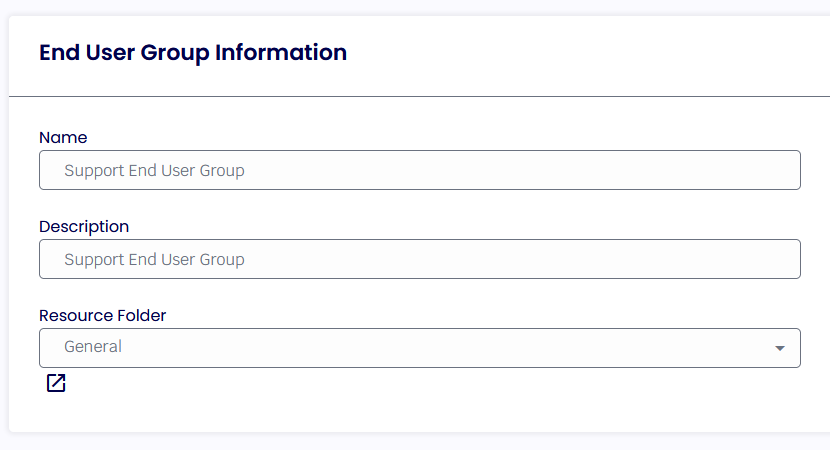
Give it a Name and a Description, pick a Resource Folder, and Click Save.
In the Auth Provider Groups, add the ID from the Azure Group of which the user is part.
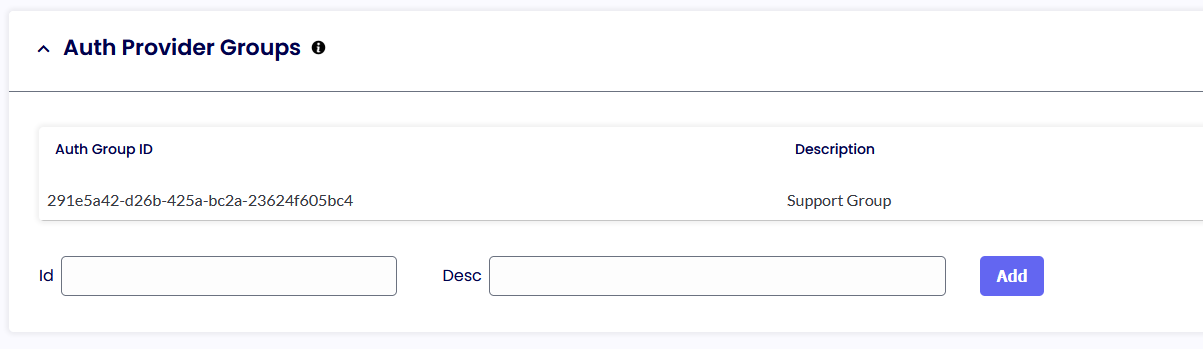
Every time a user of that group logs in, the “End User Count” will automatically increase.
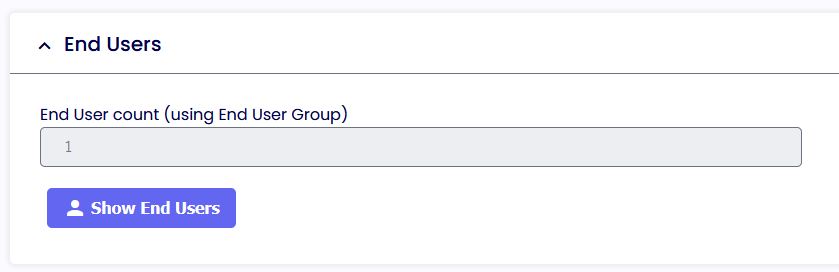
If you click “Show End Users,” you will see all the users authenticated against that Group ID.

Once done, return to the Config Assignment, Select the End User Groups you created, and Click Save.

DEVICES PROFILES
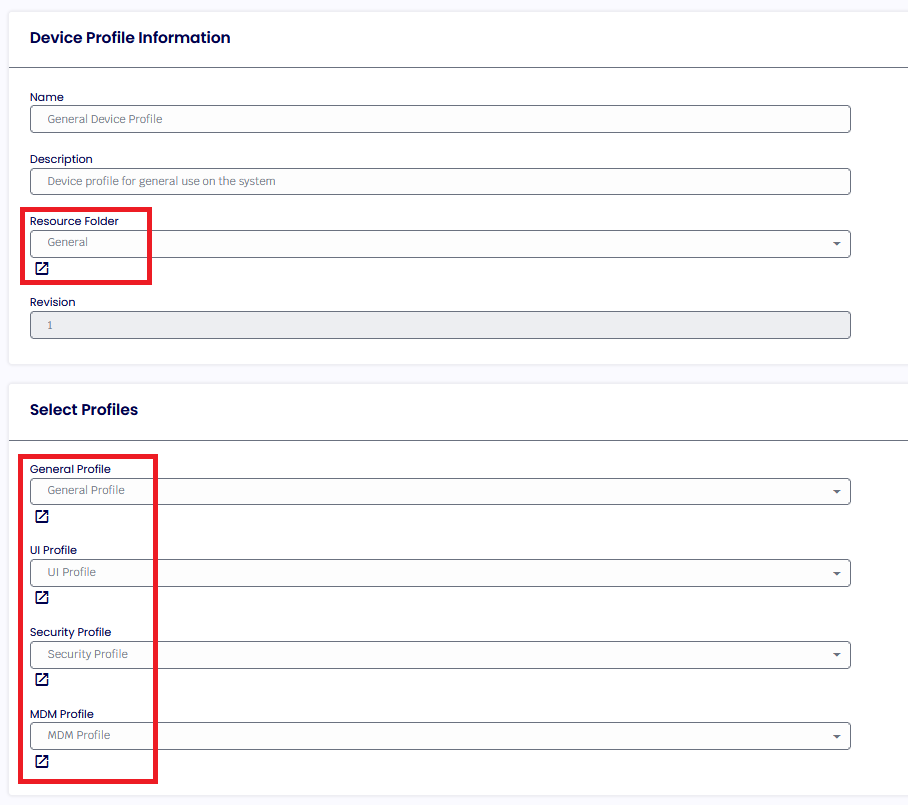
The Device Profiles Tab assigns all the settings from the four configurations (General, UI, Security, MDM) to the Resource Folder.
Those settings will then be deployed to all Devices within that Resource Folder.

GENERAL PROFILES
Below, you will find an explanation of all the options within the General Profiles.

WINDOWS SHELL
Below, you will find an explanation of all the options within the Windows Shell Tab.
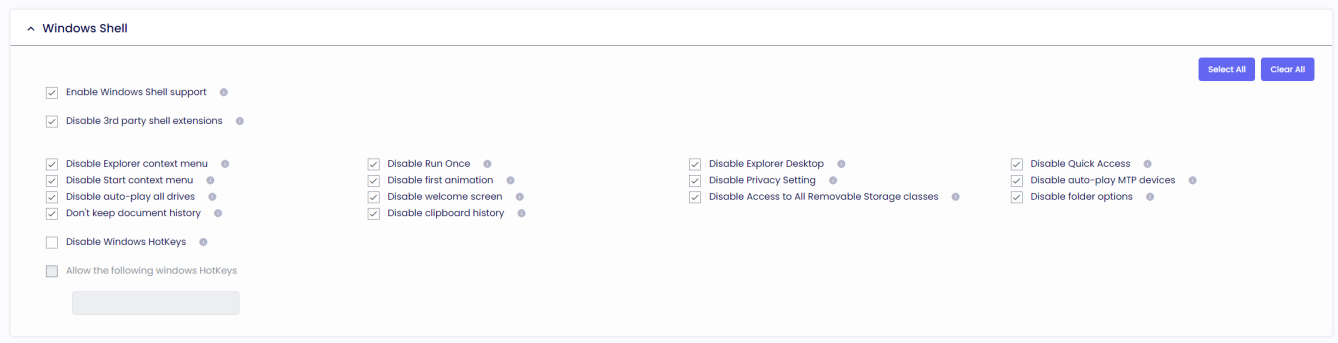
Enable Windows Shell support
If enabled, the Windows Explorer process will be allowed to run.
Disable 3rd party shell extensions
If enabled, 3rd party shell extensions will be disabled.
Disable Explorer context menu
If enabled, the right-click context menu will be disabled.
Disable Run Once
If enabled, the machine and user run once will be disabled.
Disable Explorer Desktop
If enabled, the main desktop will be disabled.
Disable Quick Access
If enabled, Quick Access will be disabled inside the Explorer Tab.
Disable Start context menu
If enabled, the start right-click context menu will be disabled.
Disable first animation
If enabled, the first sign-in animation will be disabled.
Disable Privacy Setting
If enabled, the privacy settings will be disabled.
Disable auto-play MTP devices
If enabled, the Autoplay feature from MTP devices like cameras or phones will be disabled.
Disable auto-play all drives
If enabled, the Autoplay feature for all drives will be disabled.
Disable welcome screen
If enabled, the Windows welcome experience will be disabled.
Disable Access to All Removable Storage classes
If enabled, access to all the removable storage devices will be blocked.
Disable folder options
If enabled, explore “Folder Options” will be disabled.
Don't keep document history
If enabled, all document history will be deleted.
Disable clipboard history
If enabled, clipboard history (Ctrl-S) will be disabled.
Disable Windows Hotkeys
If enabled, all the Windows hotkeys will be disabled.
Allow the following windows Hotkeys
If enabled in conjunction with the "Disabled Windows Hotkeys" setting, you can designate the specific Win-Key combination you wish to permit.
MAGIC FILTER
Below, you will find an explanation of all the options within the Magic Filter Tab.

Pass [Ctrl] [Alt] [Delete] key sequence to VDI resources
If enabled, the CTRL-ALT-DEL keystrokes will be passed only to the VDI session.
Pass [Windows] [L] key sequence to VDI resources
If enabled, the WIN-L keystrokes will be passed only to the VDI session.
LOCAL DEVICE RESTRICTIONS
Below, you will find an explanation of all the options within the Local Device Restriction Tab.
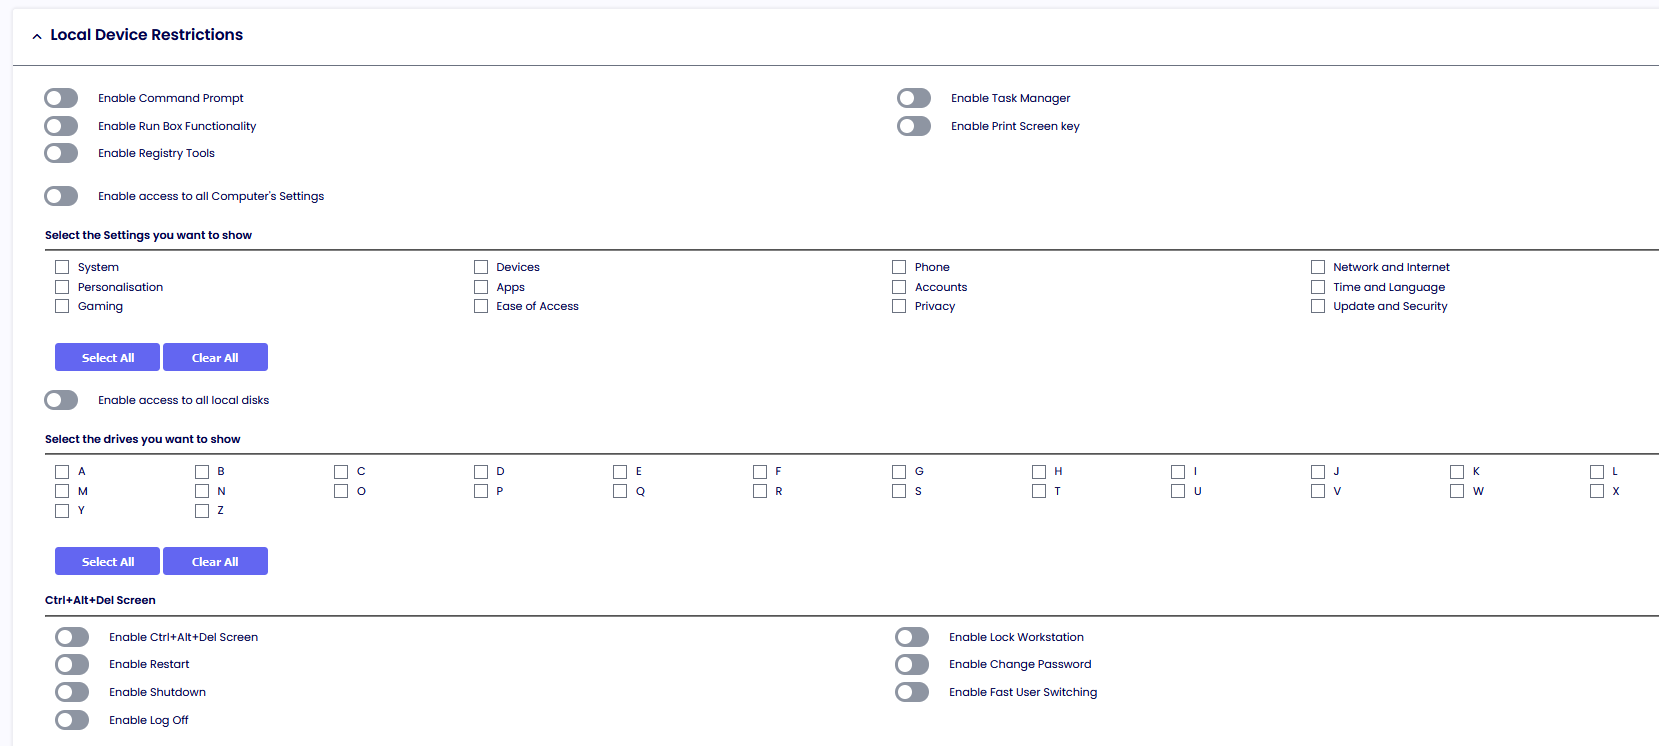
Enable Command Prompt
If enabled, users will have access to the Command Prompt.
Enable Task Manager
If enabled, users will have access to the Windows Task Manager.
Enable Run Box Functionality
If enabled, users can access the Run option from the Windows Start Menu.
Enable Print Screen Key
If enabled, users can use the Print Screen combination key.
Enable Registry Tools
If enabled, users will have access to the registry tools.
Enable access to all Computer's Settings
If enabled, users will have access to all Control Panel applets.
Select the Settings Items you want to show
If Ctrl+Alt+Del is not blocked, the TDA can show the user a “restricted” view of the Settings Tab. Click the option you want to allow, and we will do the rest.
Select the drives you want to show
If enabled, access to local drives through Explorer views is allowed.
Attention:
If you decide to enable access to the Windows components like Registry Tools and Command Prompt. You must create a rule in your Process Security to allow it to run. Enabling this option here will not be enough to run as on the prior version (v7.x).
CTRL+ALT+DEL SCREEN
Enable Ctrl+Alt+Del Screen
Access to the local TDA device lock screen will be available if enabled using the Ctrl+Alt+Del key sequence.
Enable Lock Workstation
If enabled, the users can lock the local TDA workstation.
Note: those commands are restricted to the local machine only. For the VDI pass-through, please refer to the Magic Filter Section in Session Settings.
Enable Restart
The ‘Restart’ option will be available on the lock screen if enabled.
Enable Change Password
If enabled, the ‘Change Password’ option will be available on the lock screen.
Enable Shutdown
The ‘Shutdown’ option will be available on the lock screen if enabled.
Enable Fast User Switching
The Fast User Switching will be available from the lock screen if enabled.
Enable Log Off
If enabled, the ‘Log Off’ option will be available on the lock screen.
LOGON SCRIPT
Below, you will find the explanation of all the options within the Logon Script Tab.
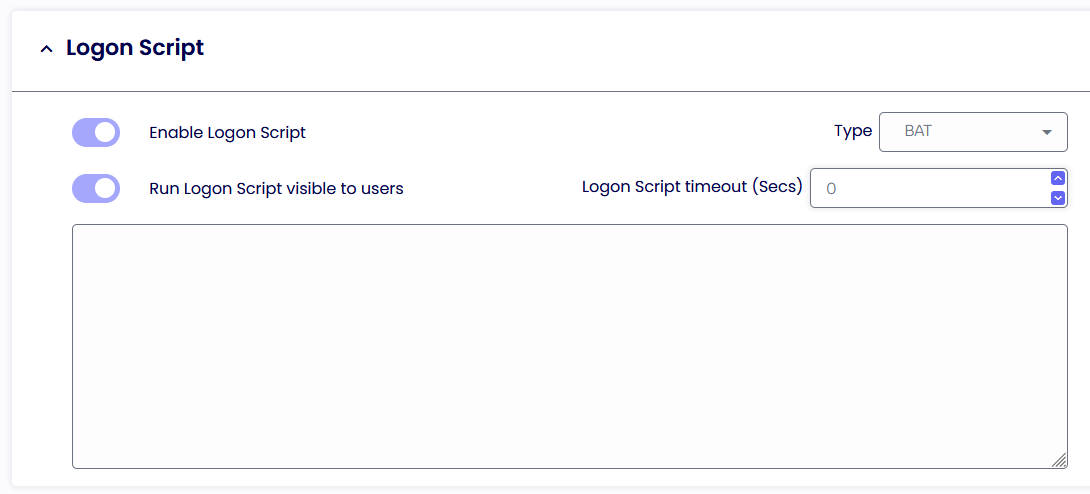
Enable Login Script
Enables the supplied.VBS or. BAT or PS1 login script. The script will be applied when TDA UI is first started.
Run Login Script Visible to users
If enabled, any output from the script will be visible on the console of the device.
Login Script Timeout
Determines how long the scripts will run before stopping their execution.
LOGOFF SCRIPT
Below, you will find the explanation of all the options within the Logoff Script Tab.
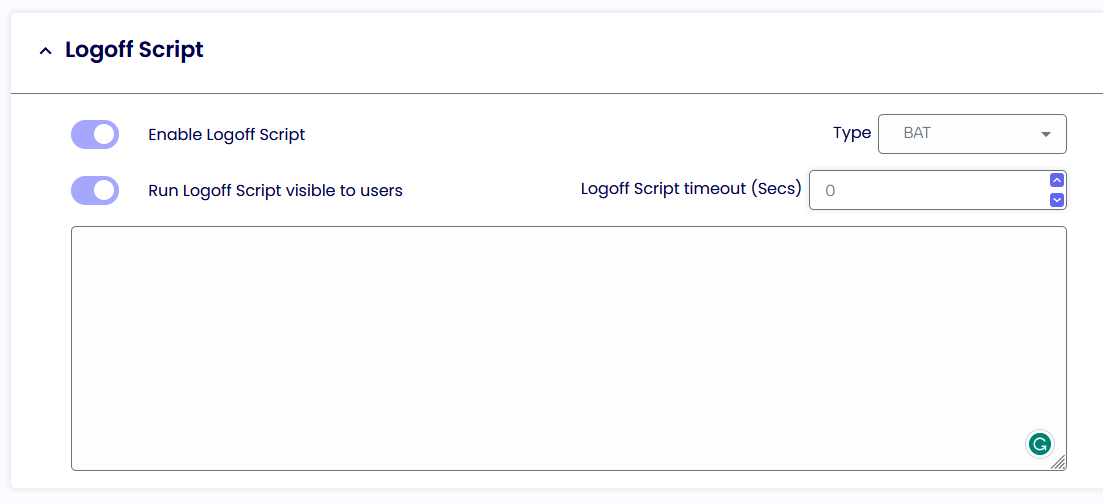
Enable Logoff Script
Enables the supplied.VBS or. BAT or PS1 logoff script. The script will be applied when TDA UI is closed.
Run Logoff Script Visible to users
If enabled, any output from the script will be visible on the console of the device.
Logoff Script Timeout
Determines how long the scripts will run before stopping their execution.
ADDITIONAL REGISTRY VALUES
Below is an explanation of all the Additional Registry Values Tab options.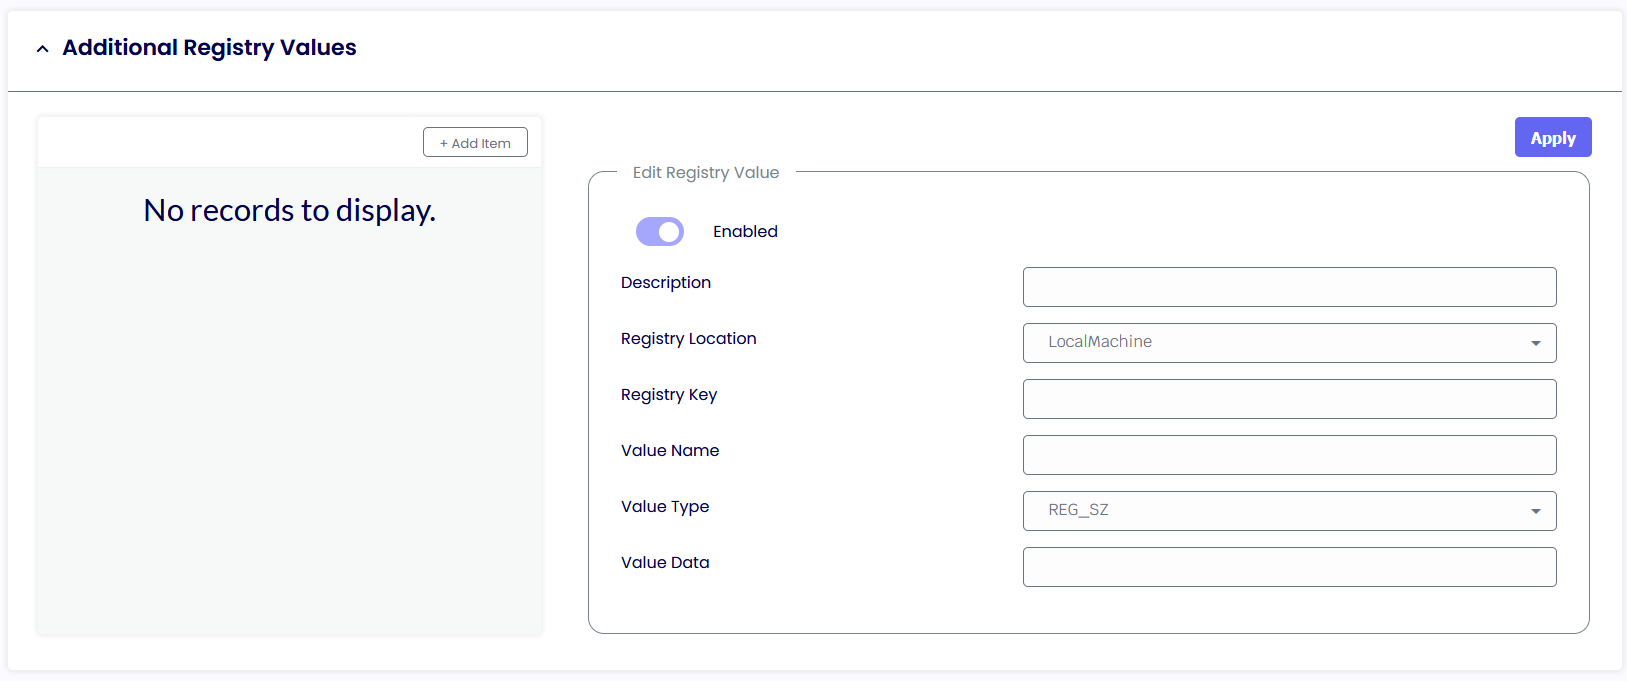
With the TDA, you can add custom registry keys that are applied by the TDA engine and that are not persistent.
Pick the location hive between LocalMachine or CurrentUser, and add the Registry Key location, a value name, a type, and data.
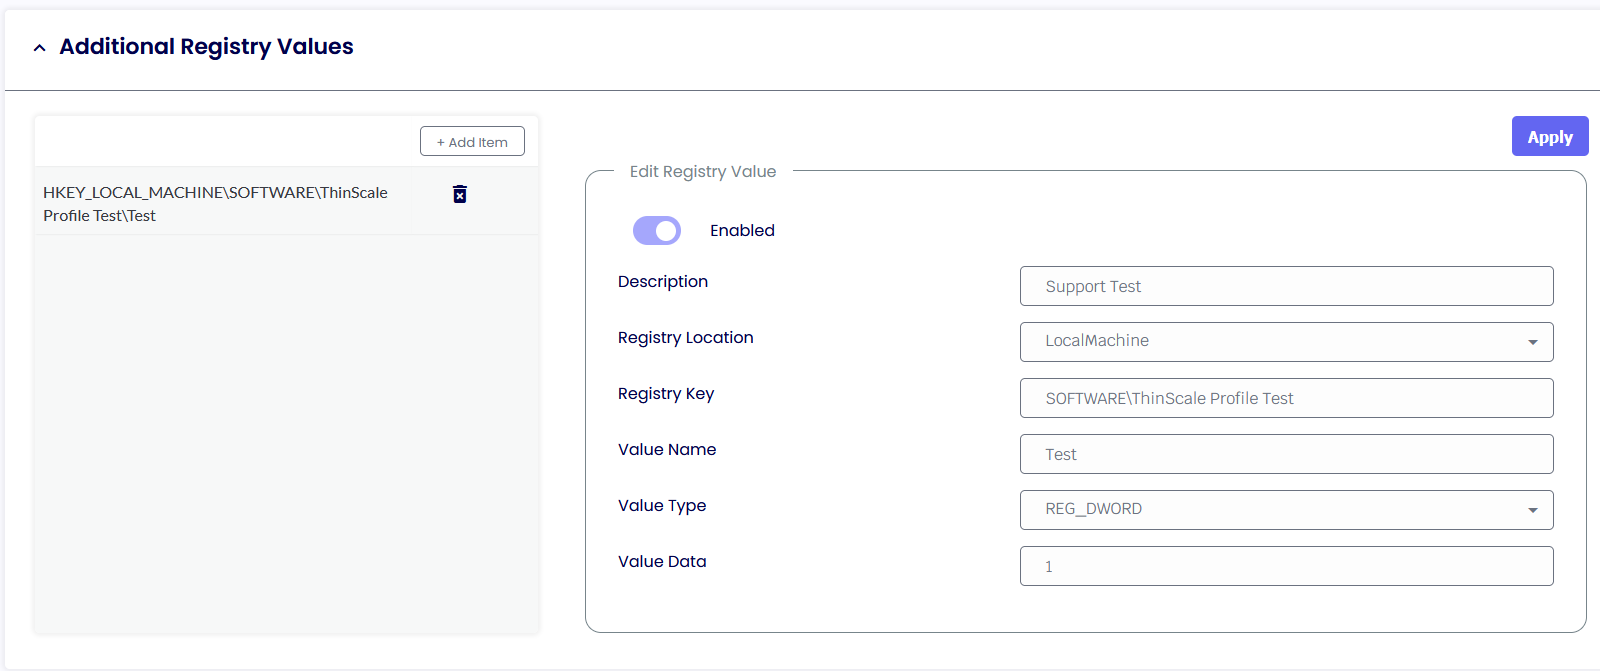
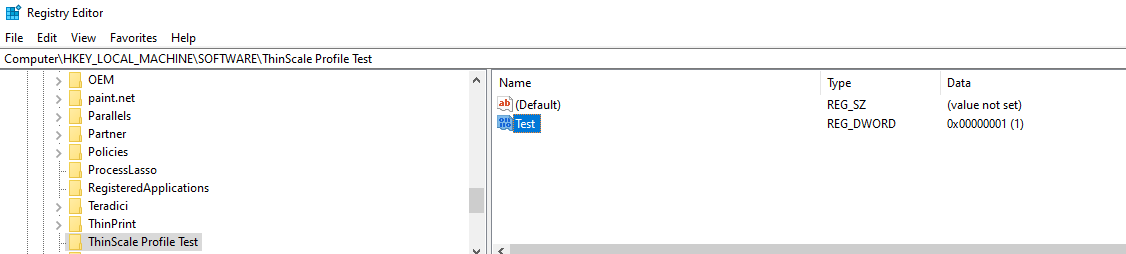
Note: these reg keys are volatile, meaning when the TDA logs off or is unlocked, the keys are removed and are only applied when inside the TDA session.
SESSION TIMERS
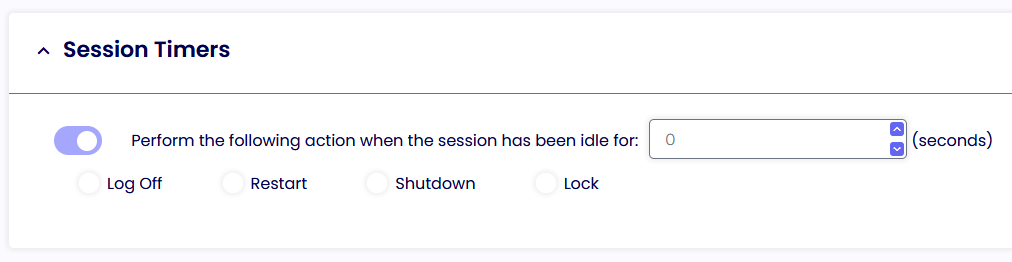
Perform the following action when the device is idle for
If enabled, TDA will perform the selected action when the local device has been idle for the configured number of seconds.
LOCK SCREEN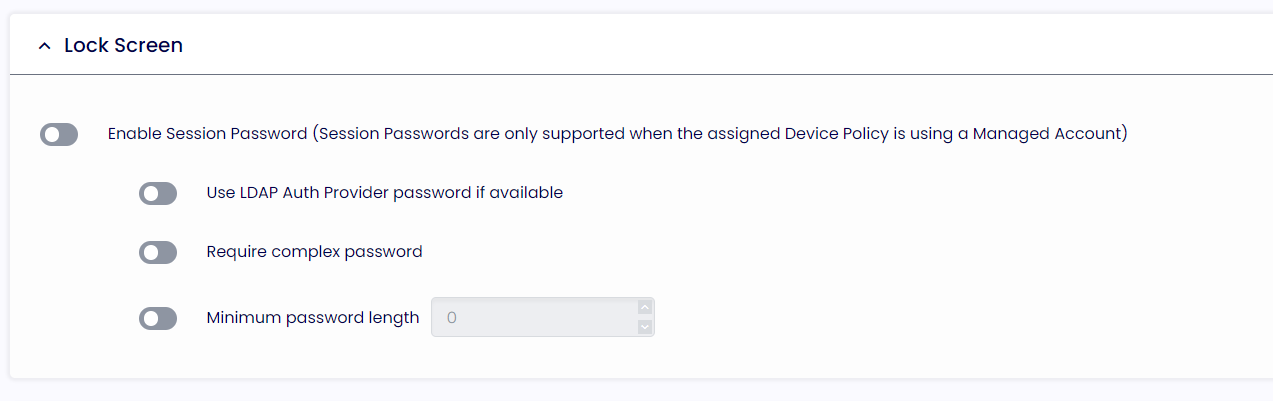
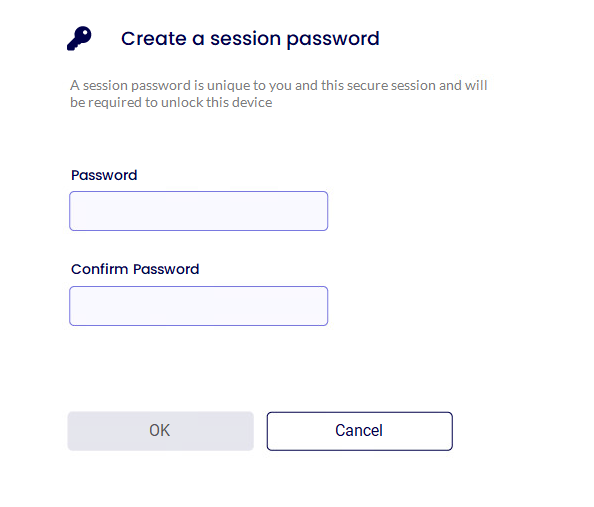
SESSION PASSWORD
If enabled, TDA users will be able to set up a local password that can be used to lock and unlock the user session.
THINSCALE VIRTUAL DESKTOP AGENT
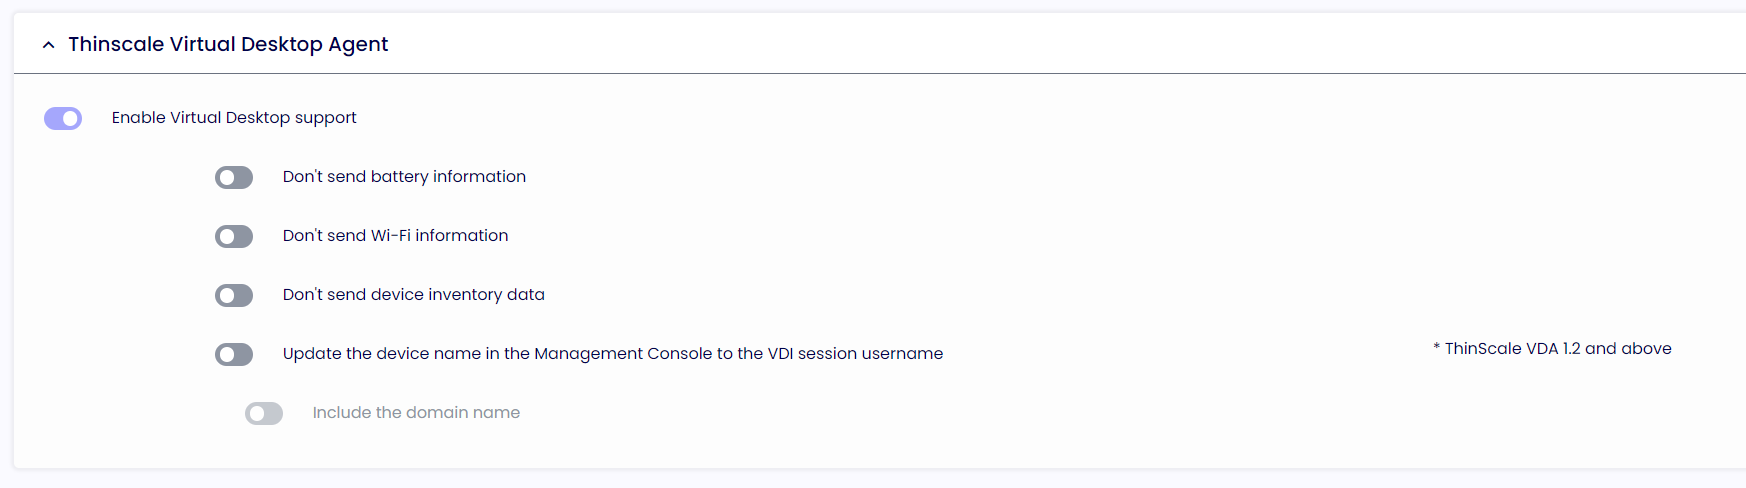
Enable Virtual Desktop Agent support
When enabled, the TDA machine service will send information like battery, Wi-fi, and TDA device inventory data to the VDA agent installed on the VDI server.
WINDOWS PROXY
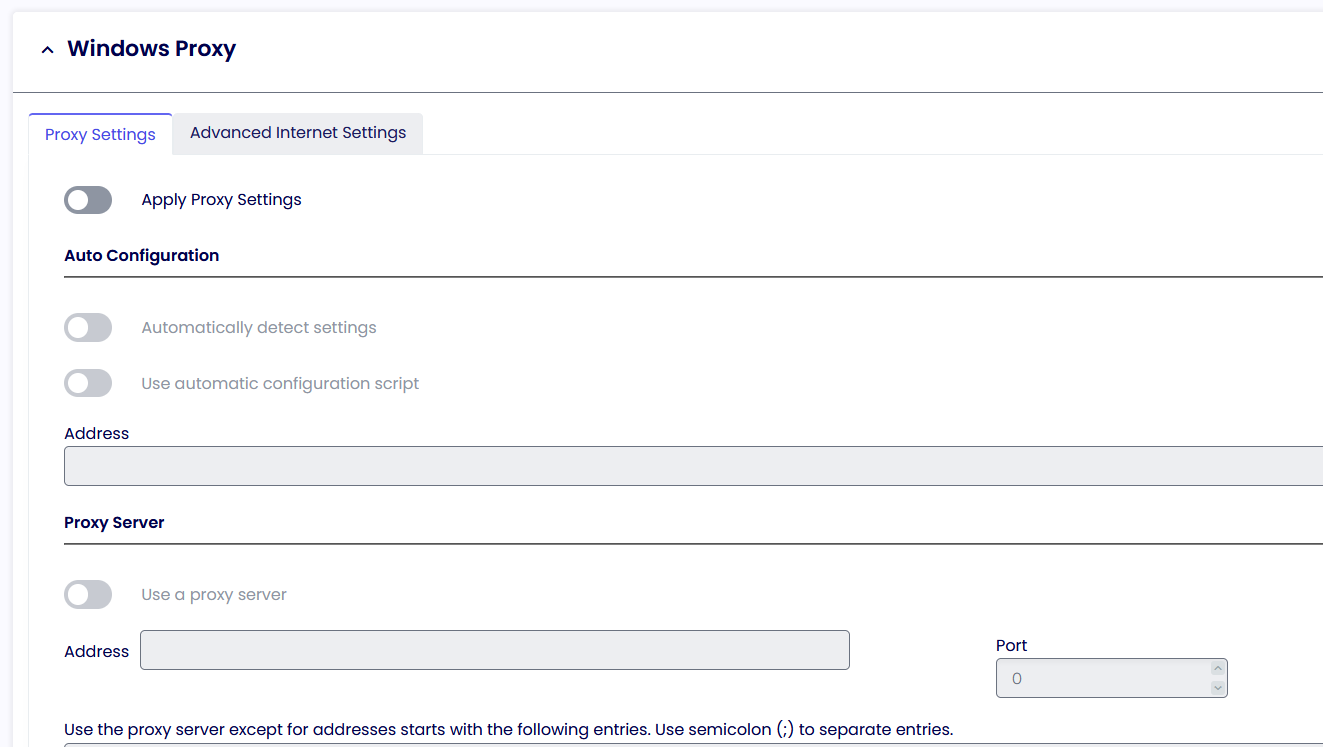
This Tab follows the standard Windows Proxy settings. There is a virtual reg key at the back of every option that we applied only during the TDA session. Those keys will be removed when the TDA is logged off or unlocked.
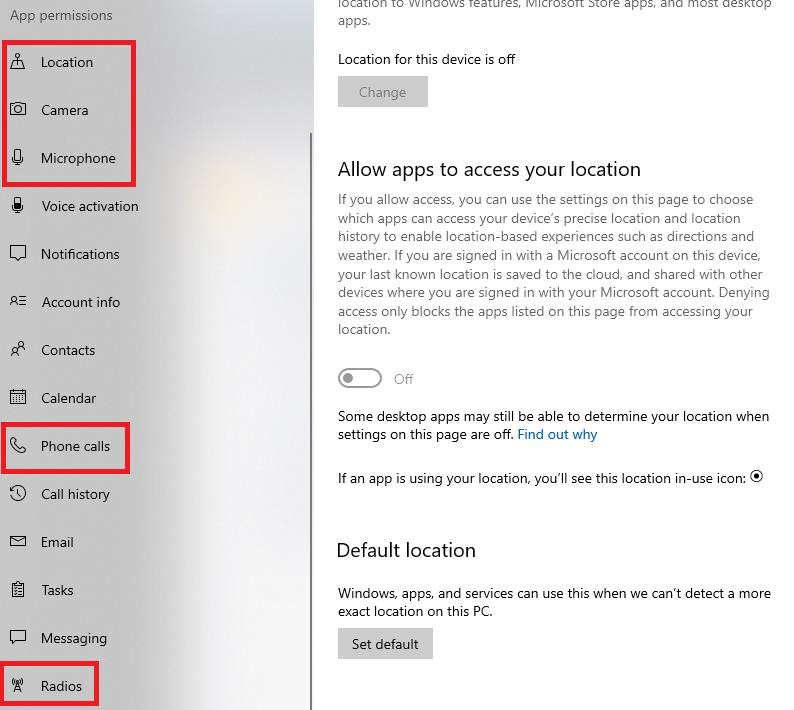
PRIVACY SETTINGS
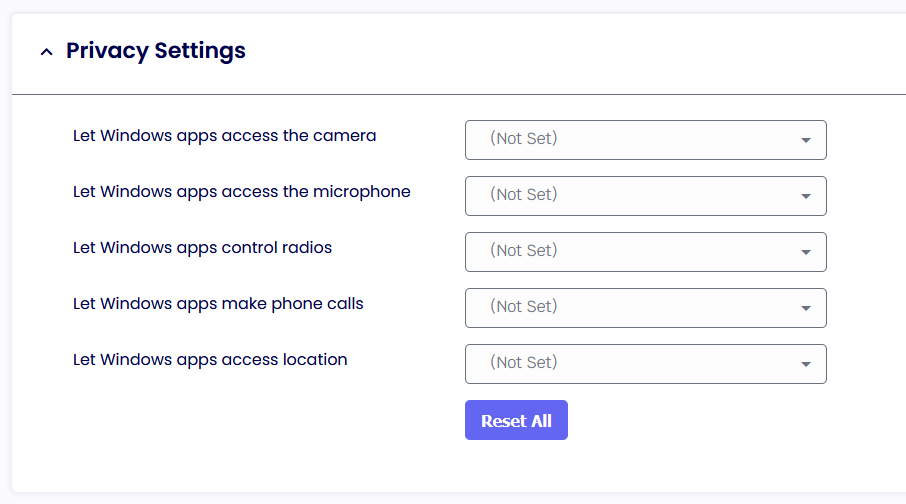
Privacy Settings in Windows 10/11 can be accessed by entering Settings / Privacy / App Permissions.
These options represent the same options that Windows displayed just grouped.
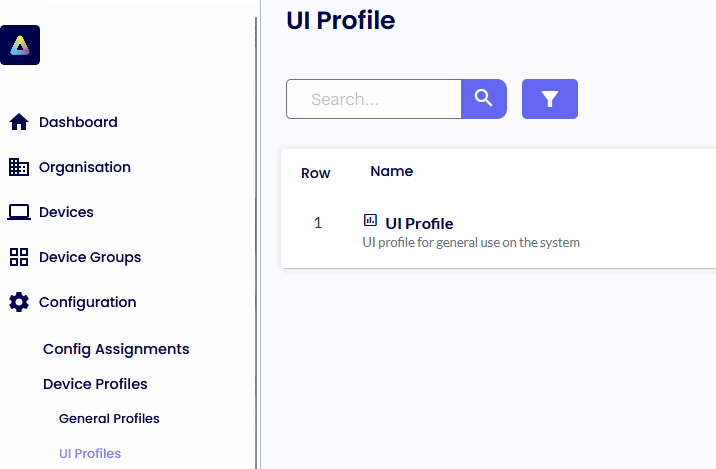
UI PROFILES
Below, you will find an explanation of all the options within the UI profile options.
USER INTERFACE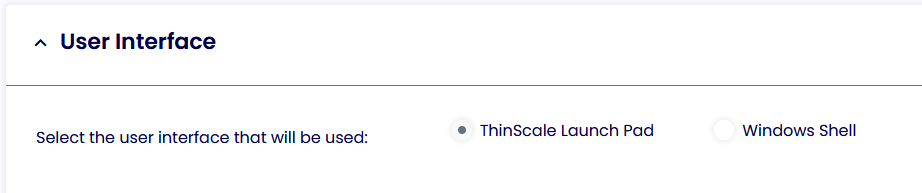
ThinScale Launch Pad
If selected, this will launch the TDA UI automatically, and the entire user's Windows desktop will be inaccessible.
Windows Shell
If selected, the user will see the user's desktop, but policy/ restrictions may still be applied.
PROFILE DATA REPOSITORY
The profile data repository contains all data shared across the user interface, like Custom applications, Websites, Network Drives, and Remote Desktop & Apps.
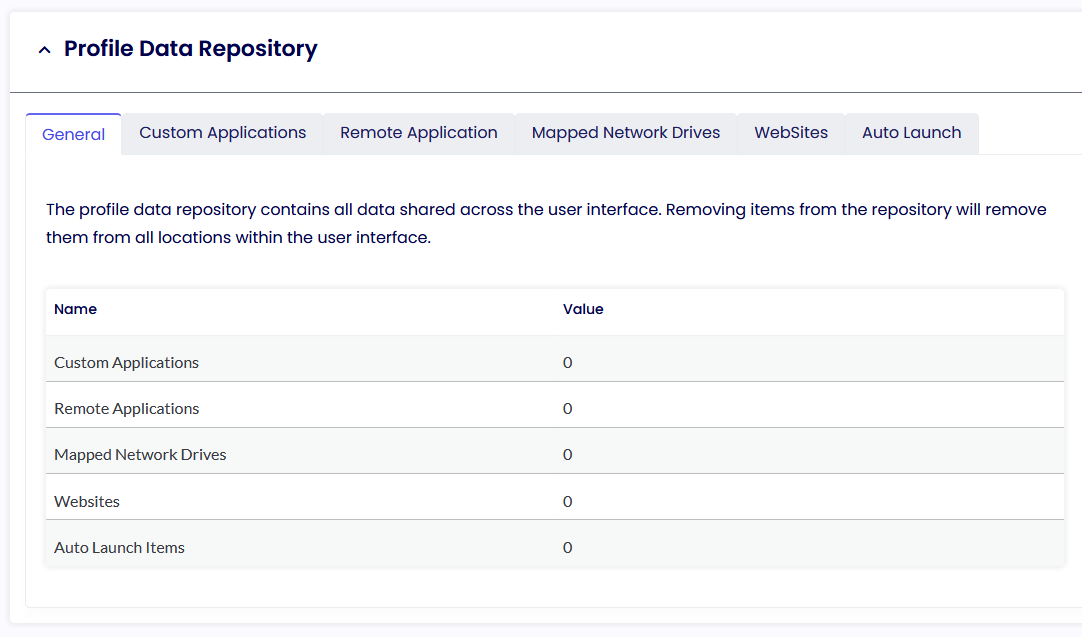
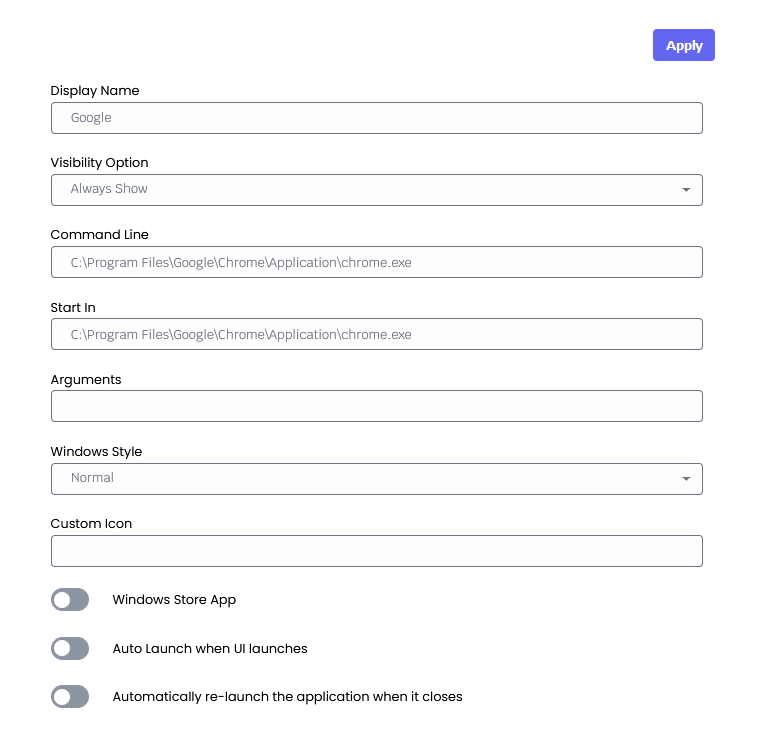
Custom Applications
To create a custom application, click the + symbol on the right panel. Give it a name, command line, and the Start in path. Click 'Apply'

Repeat the same for the Remote Application, Network Drives, and Website if needed.
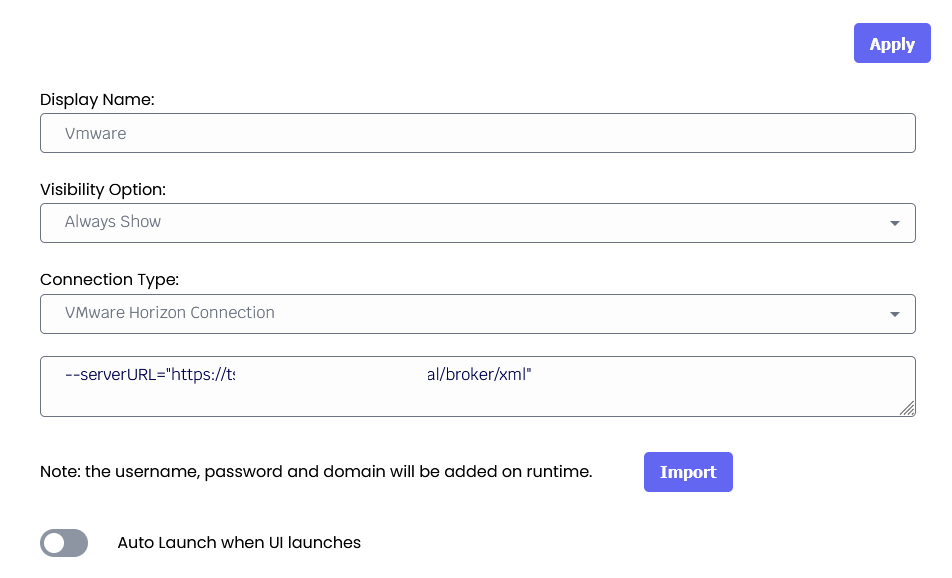
Remote Application
Mapped Network Drivers

Watermarking

The new TDA supports multiple watermarking and multiple types: Text and Image.
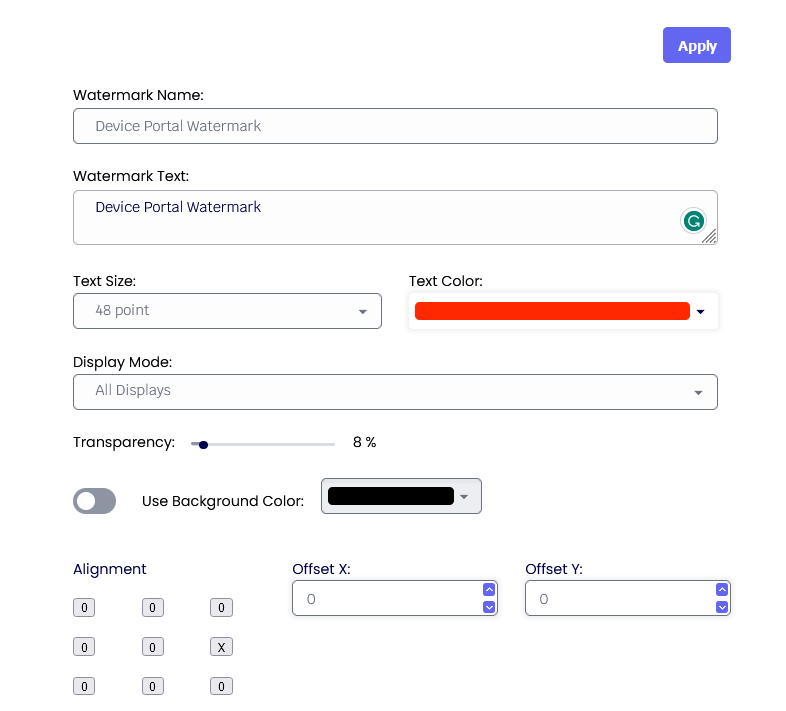
To add a Text or Watermarking watermarking, click “Add Text Watermarking” or “Add Image Watermarking." Give it a name and text, and apply all your preferred styles.
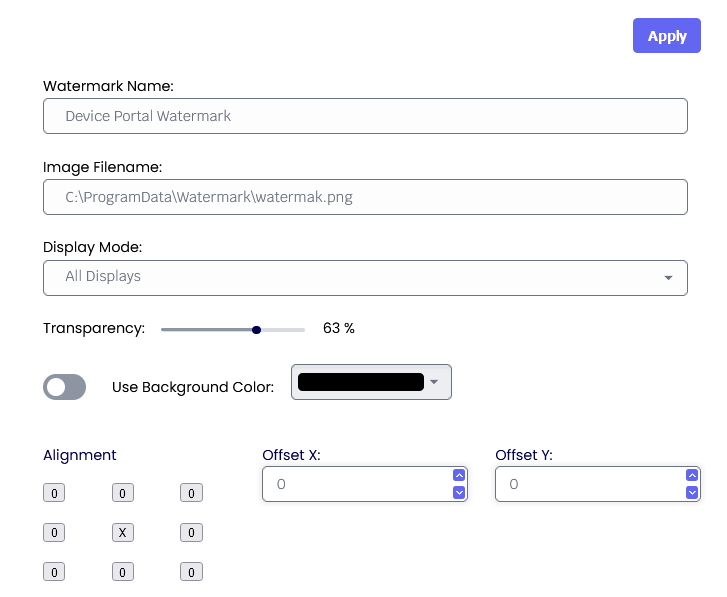
Note: When specifying the image path, ensure the image exists on the TDA device.
Watermark text
If enabled, the administrator can show a personalized text on the screen as an overlay text.
Image Filename
The path where the overlay image must exist on the target machine.
Display Mode
If enabled, the watermarking image/text overlay will be displayed on all monitors, the primary or the secondary.
Transparency
It is the transparency value of the text/image displayed within the TDA desktop.
Use Background Color
If enabled, you can choose a color of your choice as a background color.
Alignment
It is the position where the image or the text will be shown on the TDA desktop.

APPEARANCE
General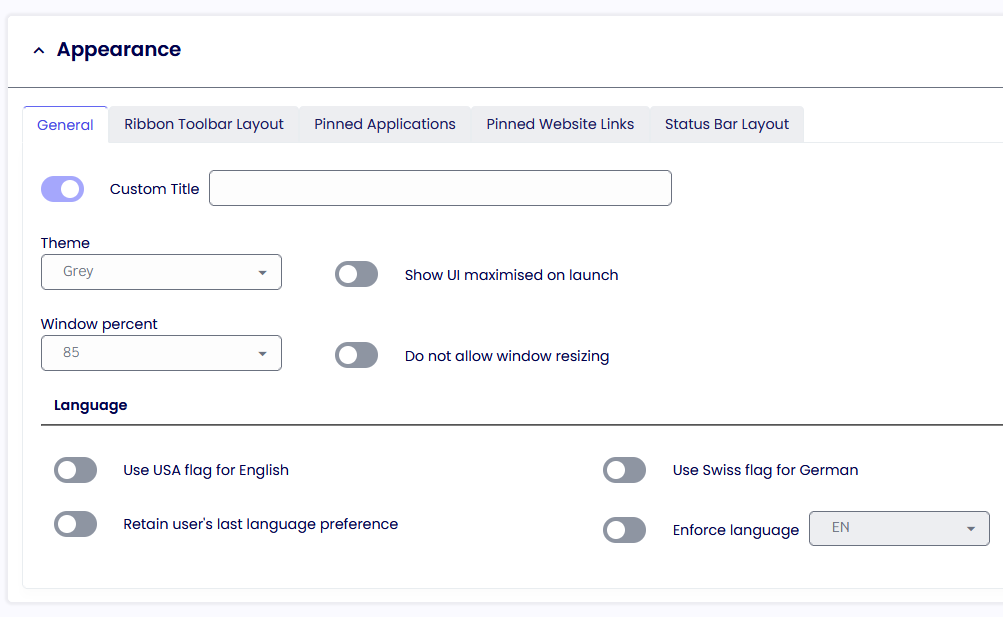
Custom Title
Allows you to configure a customized title for the TDA UI. If no custom title is provided, TDA will use the title ‘TDA’ by default.
Theme
Sets the theme TDA UI will use.
Show UI Maximised on launch
If enabled, the TDA UI will launch maximized and override the Window Percent setting.
Window Percent
Set the size of the TDA UI.
Do not allow window resizing
When enabled, the TDA UI is fixed to the size it was launched at.
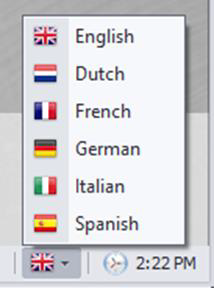
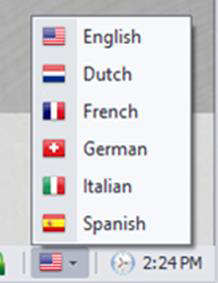
Use USA flag for English
Switches the USA flag icon in language selection for the English language.
Use Swiss flag for German
Switches the Swiss flag icon in language selection for the German language.
Retain Users Last Language Preference
TDA remembers the user’s language selection and automatically switches to that language the next time it starts.
Enforce Language
Forces TDA to use the selected language.
Ribbon Bar Layout
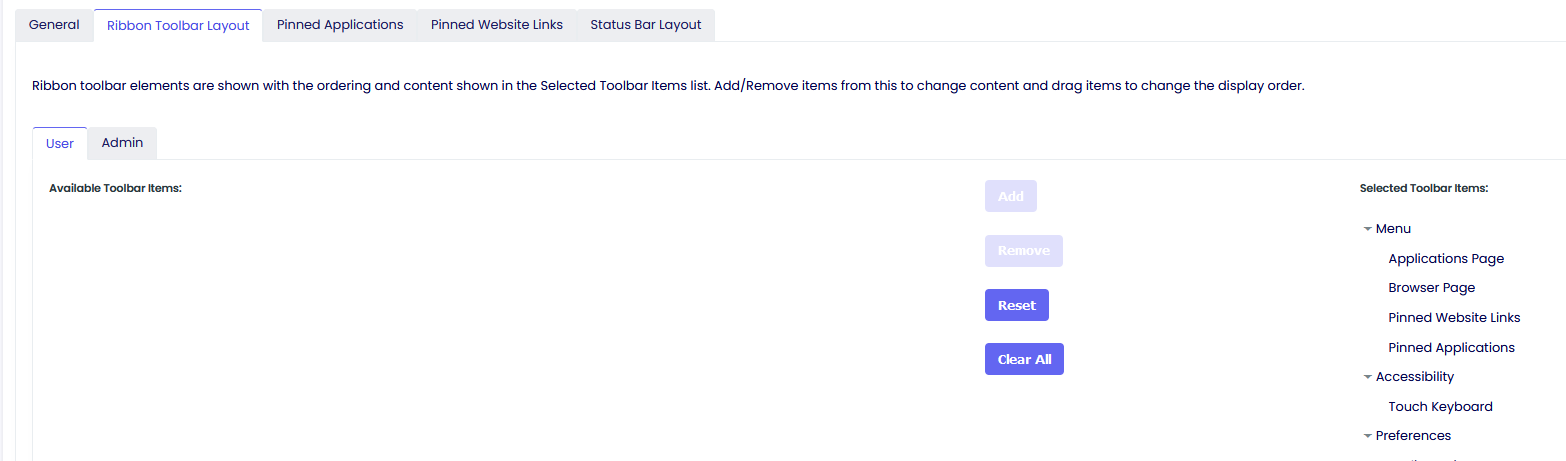
Ribbon toolbar elements are shown with the ordering and content shown in the Selected Toolbar Items list. Add/Remove items from this to change content and drag items to change the display order.
Pinned Applications and Website links

Pinned Applications and Website Links are displayed on the TDA Ribbon Bar when enabled. You can create a new one or use an existing one from the Profile Data Repository. When the TDA will be launched, you will be able to see them here.
Status Bar Layout
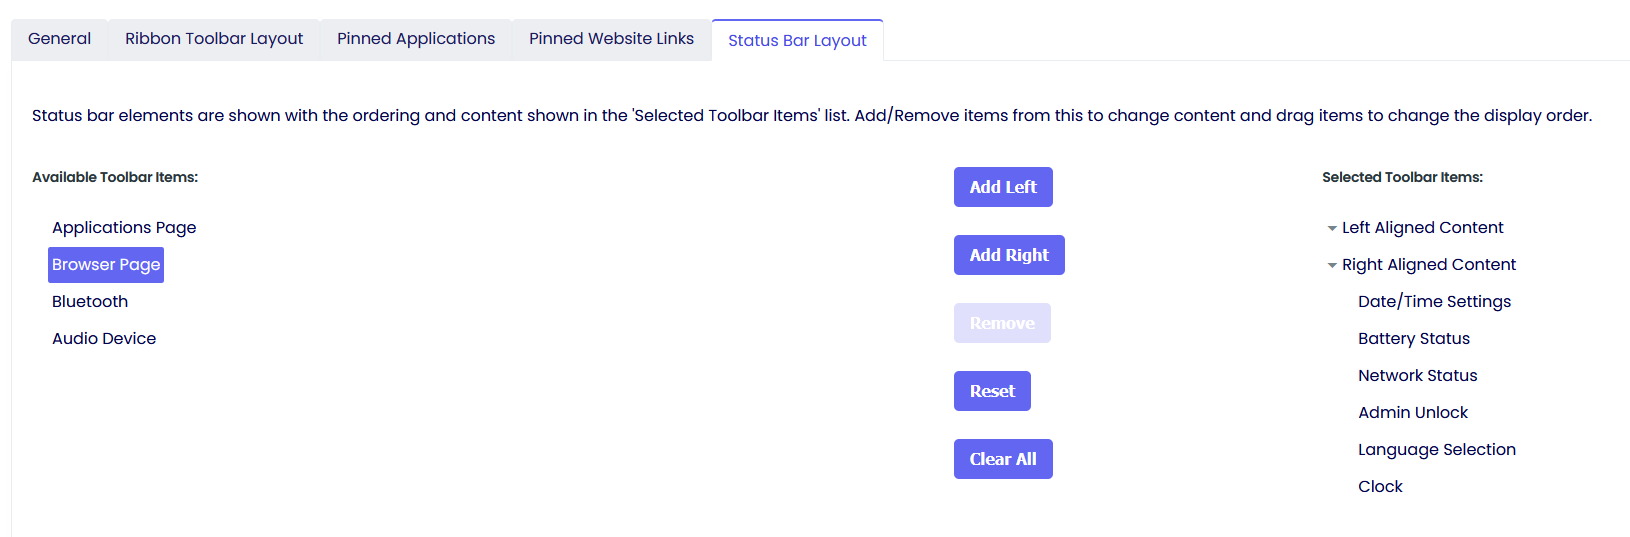
Status bar elements are shown with the ordering and content in the 'Selected Toolbar Items' list. Add/Remove items from this to change content and drag items to change the display order.

APPLICATIONS
General
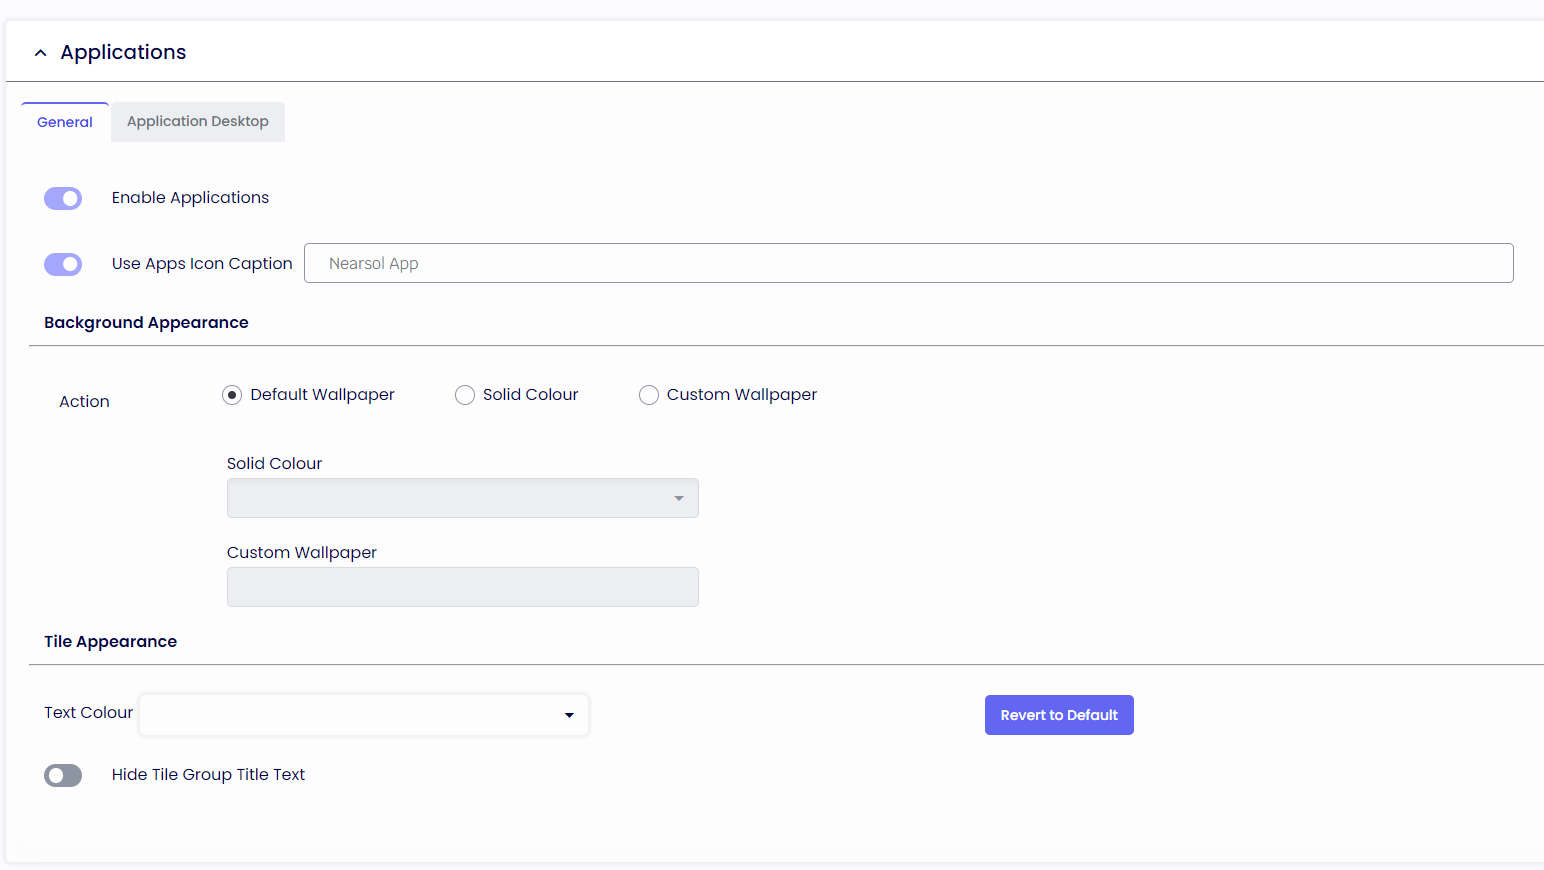
Enable Application
If enabled, the application tab inside the TDA Desktop will be shown.
Use Apps icon caption
Provides a caption to use for the applications tab icon.
Background Appearance
Allows the configuration of either a built-in Wallpaper or a solid color to be used as the background in the application tab within TDA.
Title Appearance
Text Colour
The color of the application’s text name.
Hide Tile Group Title Text
Hides the group headings in the applications tab.
APPLICATION DESKTOP
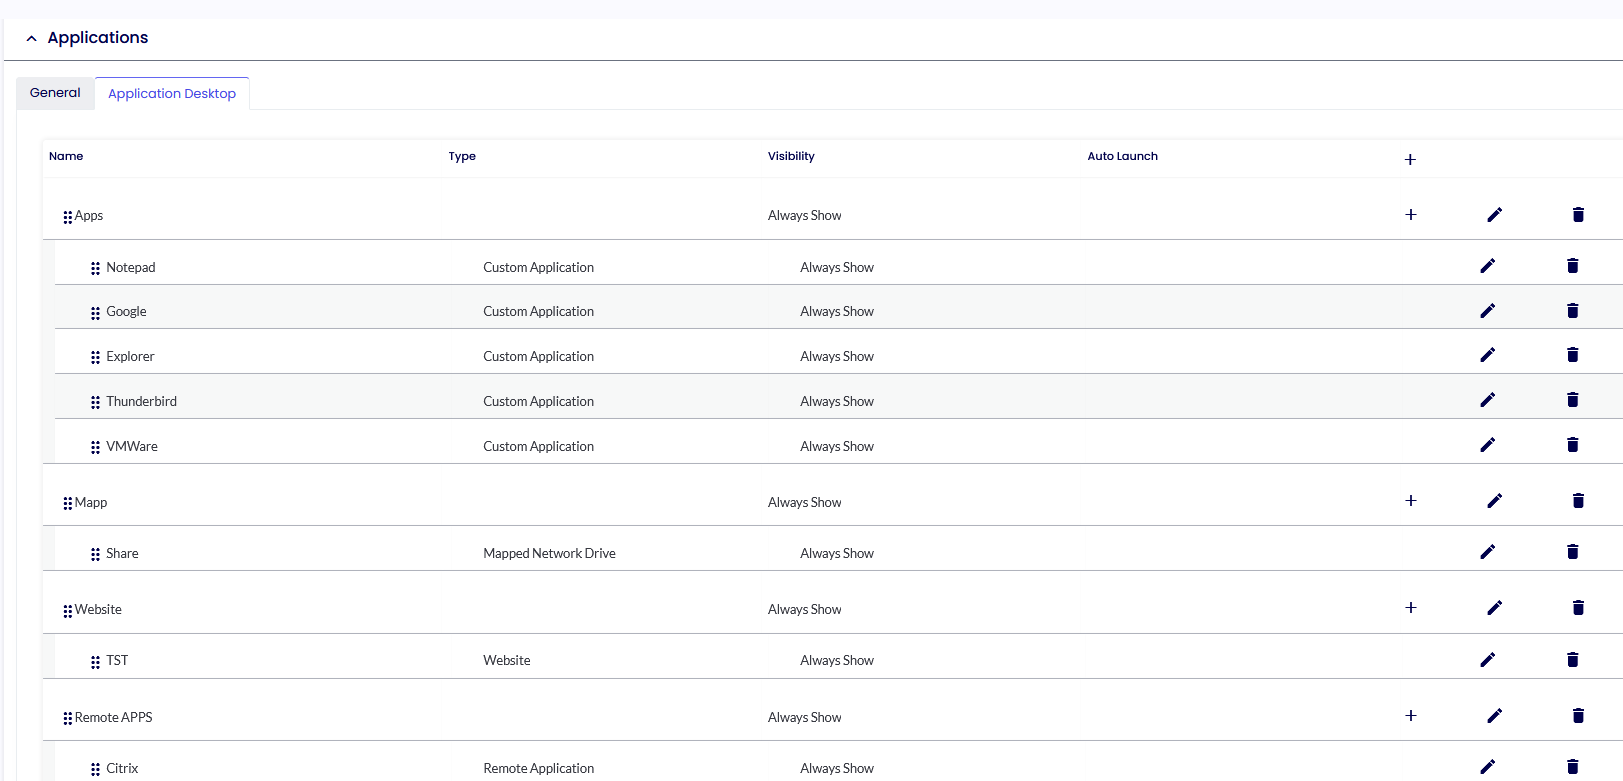
You can create an Application Desktop Group, Web sites Group, Remote Applications Group, and more in the Application Desktop Tab.
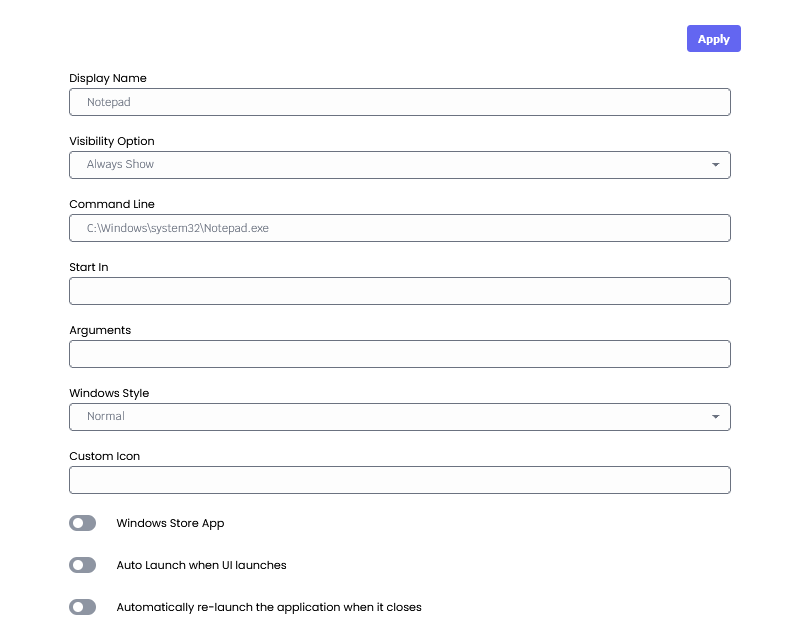
Windows Store App
Please follow this article to add a Windows Store App.
Auto launch when UI launches
If enabled, the application will automatically launch when the TDA is initialized.
Automatically re-launch the application when it closes
If enabled, the application will automatically relaunch if the user closes the application.