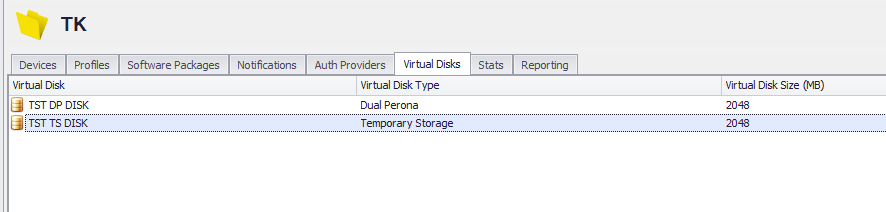
Virtual Disks
Virtual Disks are required by Home Edition Operating Systems when the Dual Persona or Temporary Storage features are enabled in your ThinKiosk or Secure Remote Worker profiles.
The same virtual disk can be assigned to multiple device folders, but a separate disk is required for Dual Persona and Temporary Storage if both technologies are enabled.
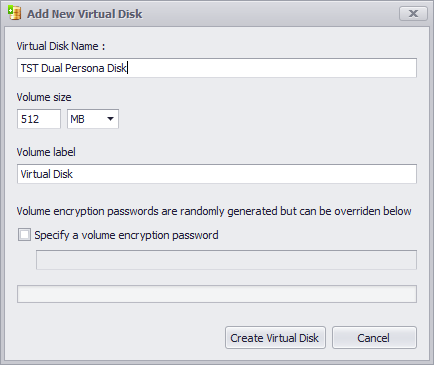
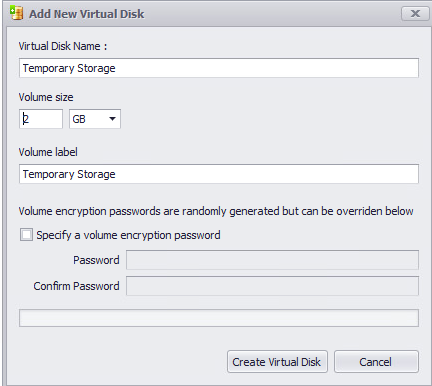
Create a new virtual disk, select a name, size, volume label, and optionally an encryption password.
Info
When setting the Temporary Storage or Dual Persona disk volume labels, please be sure to limit your label to 32 characters or less, as 32 characters is the maximum character limit that Windows allows. Please note this includes spaces. Otherwise you may encounter an error such as "Failed to enable Secure Remote Worker/Thinkiosk".
Please follow the demonstration that performs the steps below to deploy a Virtual Disk needed for Temporary Storage:
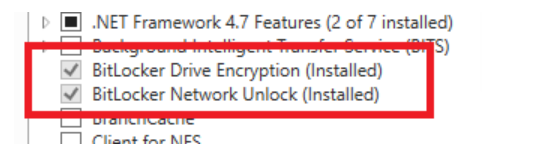
1. Before you start creating the Disk, make sure that your server has these two features enabled under Server Manager-->Add Roles and Features:
2. Create a Virtual Disk by right-clicking Virtual Disks in the Management Console and selecting "Create Virtual Disk"
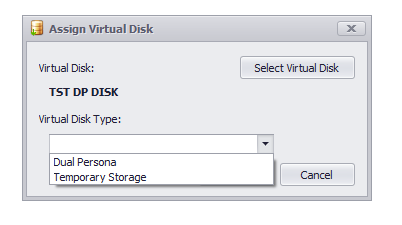
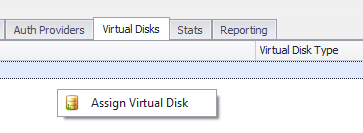
3. Assign to the folder where your devices are and select the type
Right-click Assign Virtual Disk
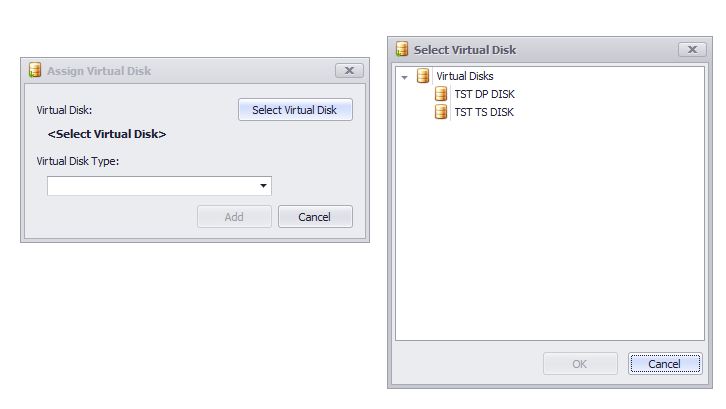
Select the Disk and select the Type
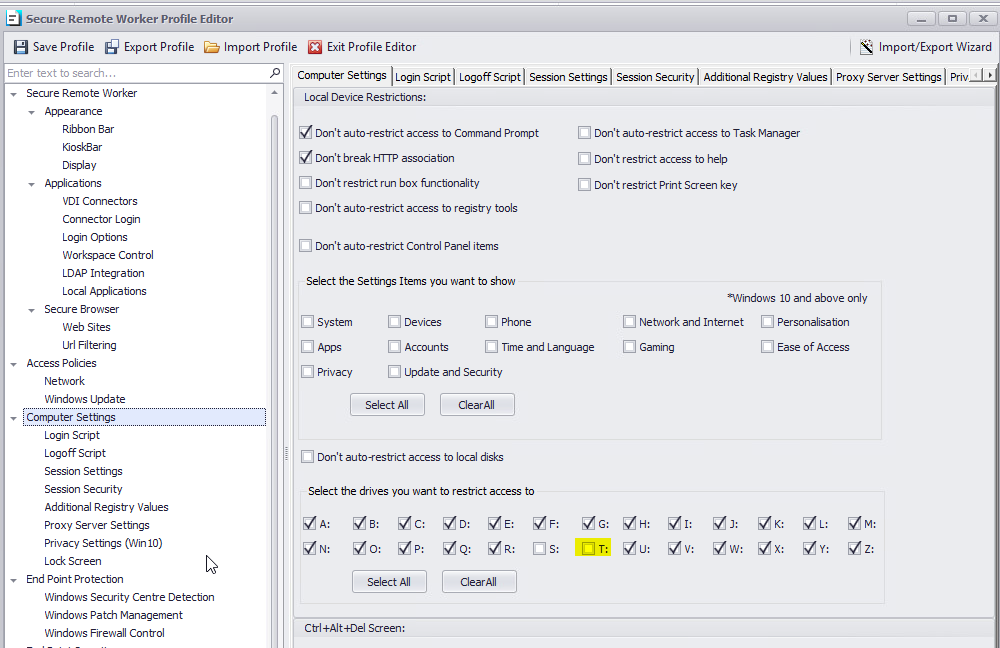
4. Lastly, we need to enable Temporary Storage in your profile.
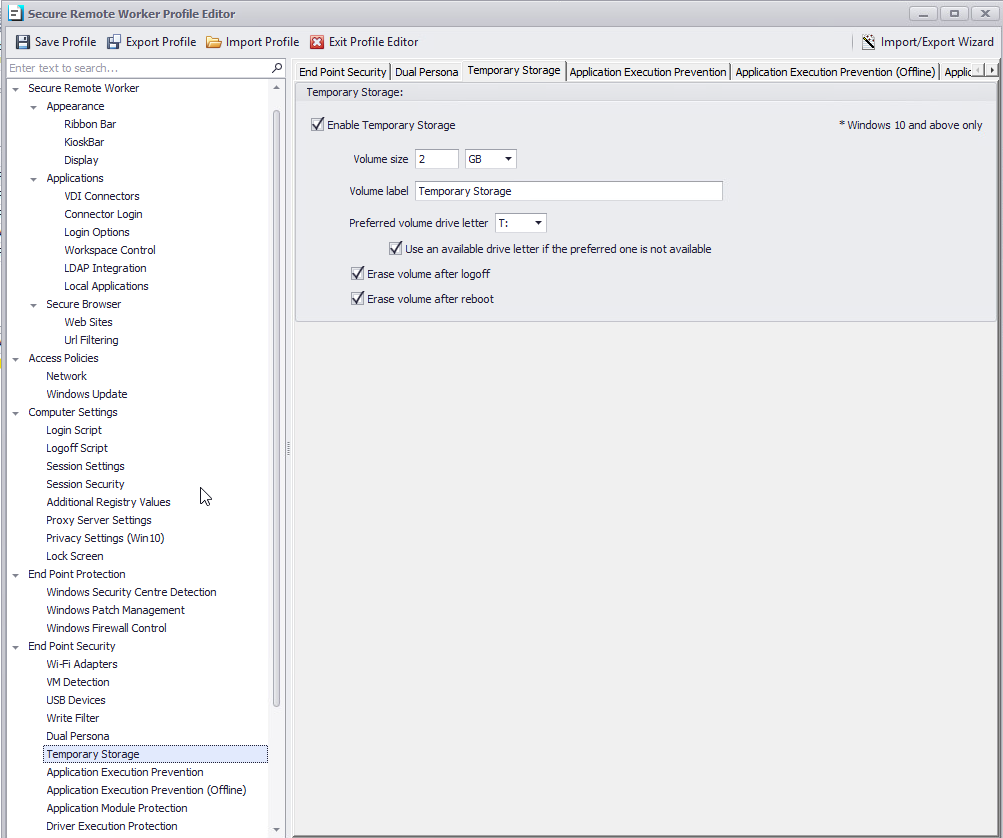
Be sure the drive letter you chose (e.g. T: in the example above) is not being restricted under Computer Settings:
Note: Virtual Disks cannot be created on a Home Edition OS even when the Console is opened as an administrator
For Dual Persona, the virtual disk process is similar and you can read more about it here:
https://kb.thinscale.com/secure-remote-worker-knowledge-base/setting-up-dual-persona