Management Server Console Requirements and Step-by-Step Installation
This article will outline step-by-step the ThinScale Server and Console installation plus the requirements. #MC-KB2

Written by
Last published at: February 9th, 2024Estimated reading time: 11 minutes, 34 seconds.
THINSCALE MANAGEMENT SERVER
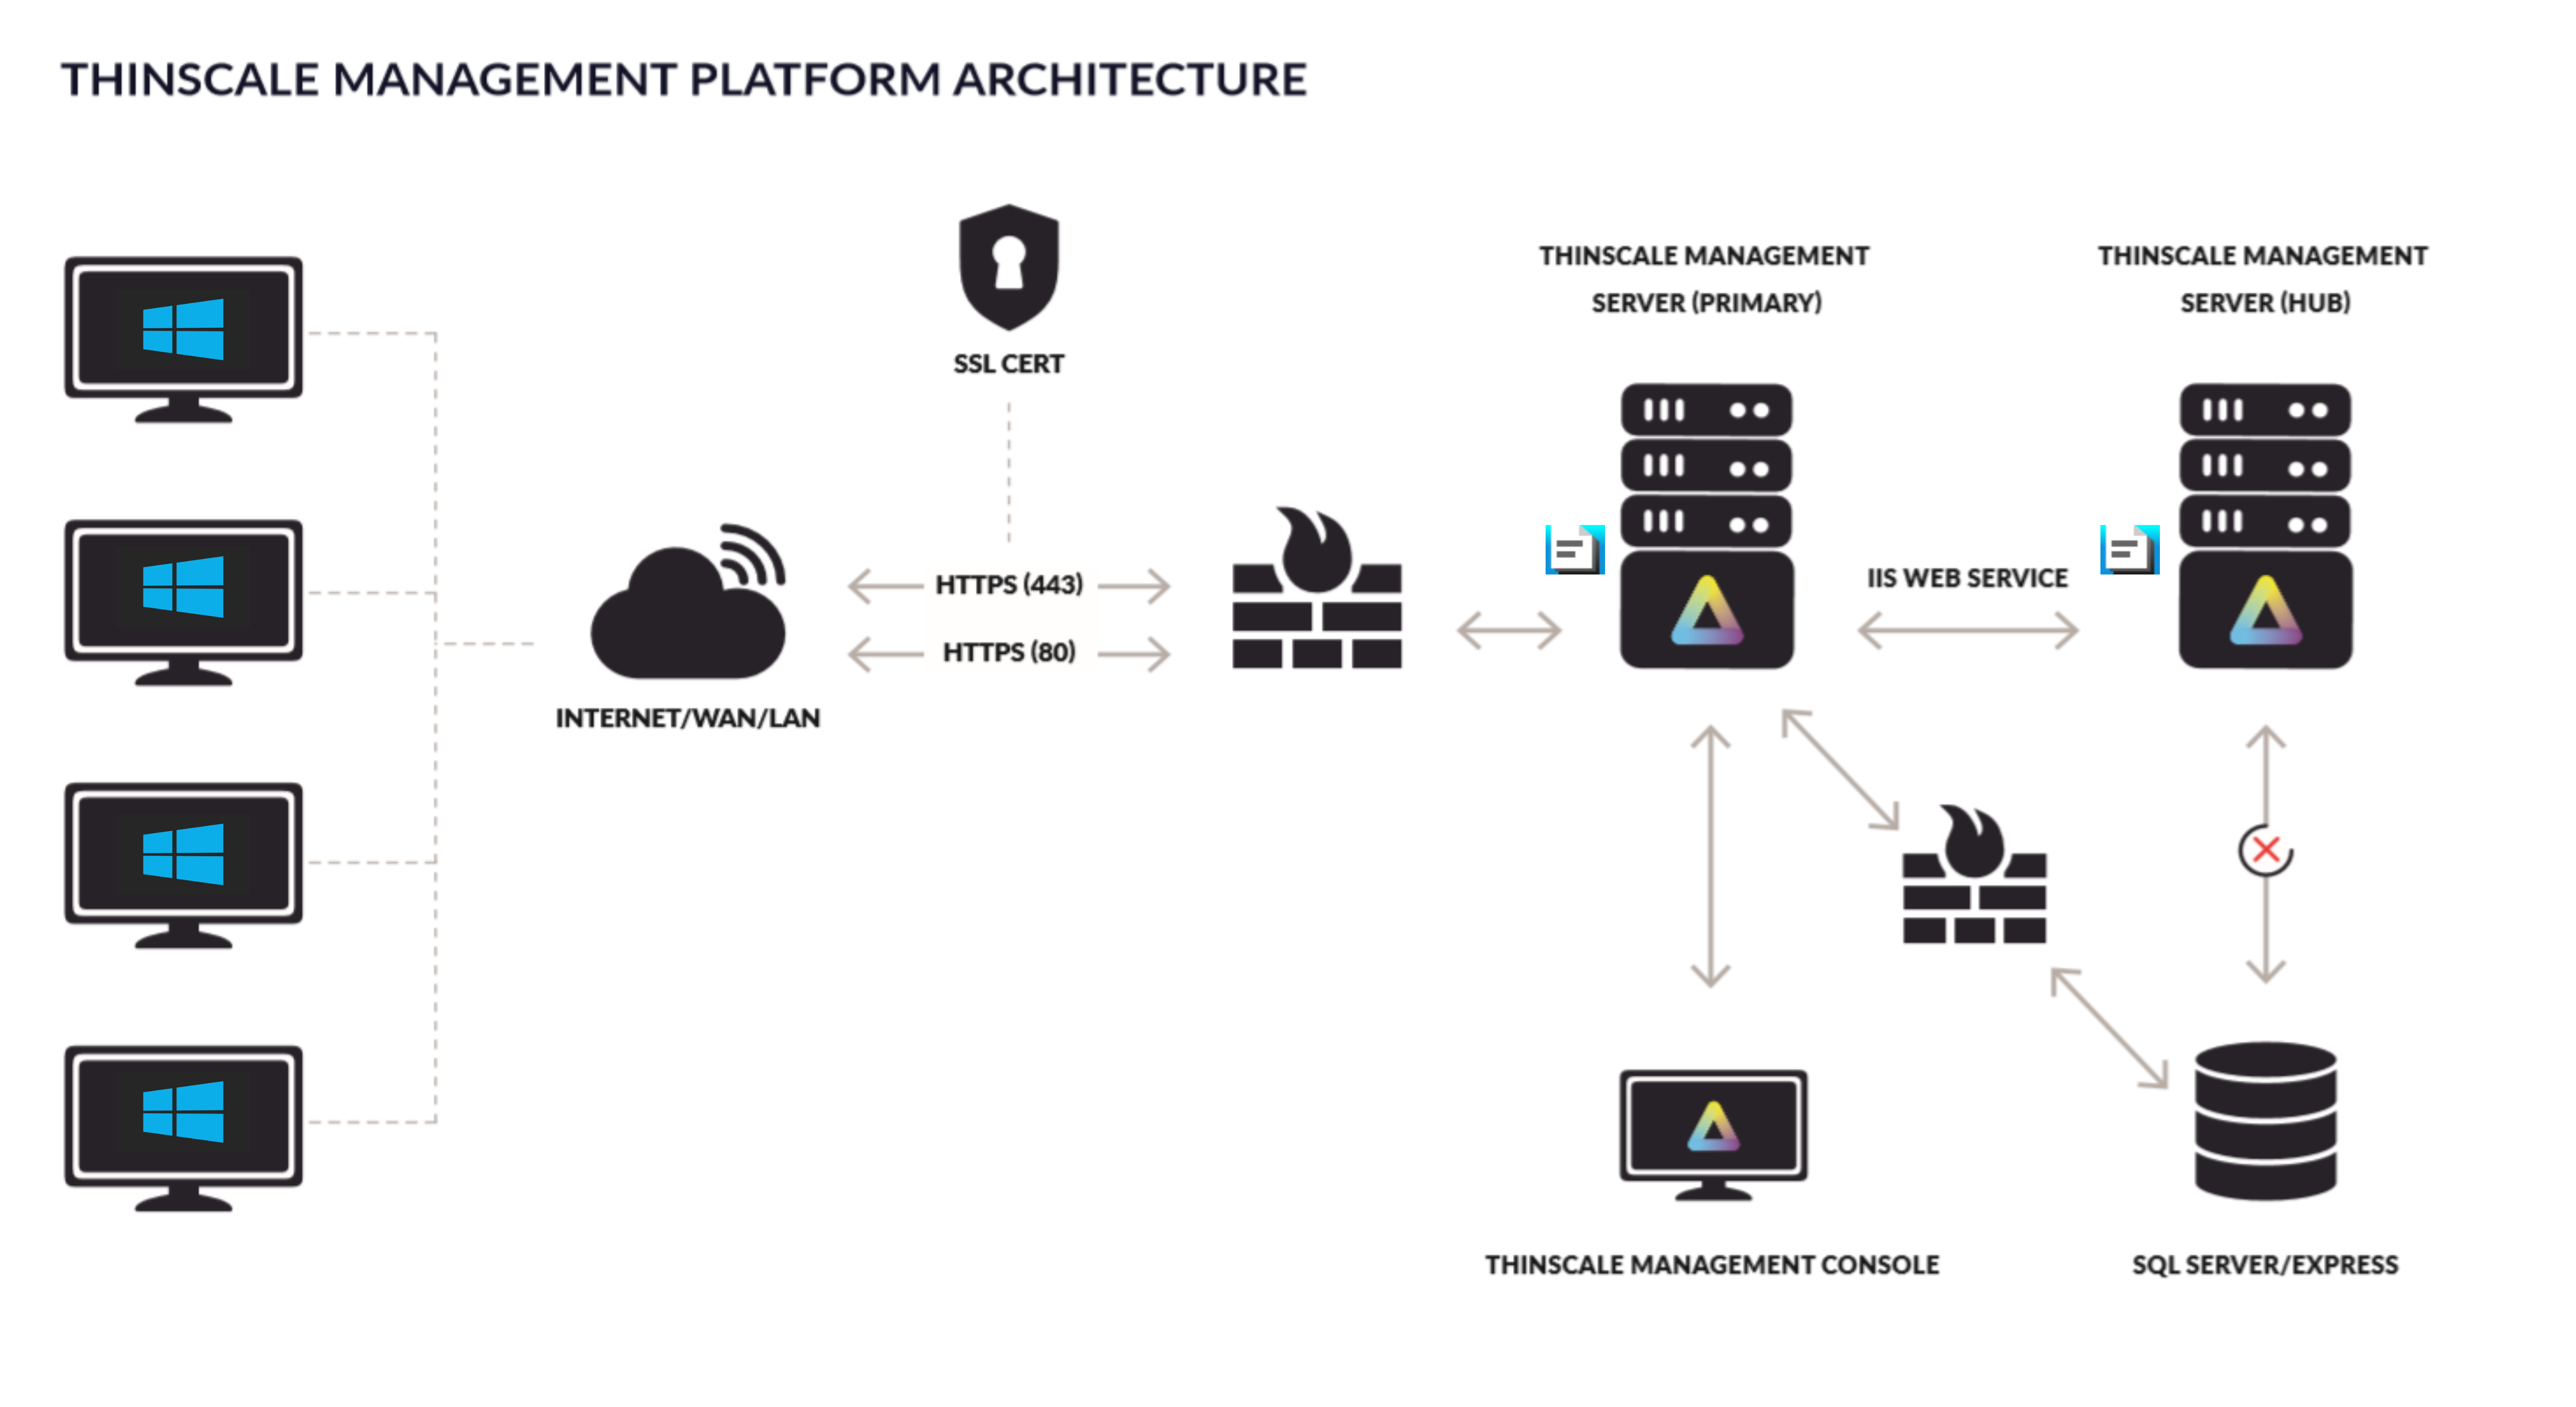
The ThinScale Management Server allows you to manage your devices centrally. It provides profile/device management, device grouping, and centralized software updates.
The Management Server is web-based, accessed via HTTP or HTTPS, allowing you to secure all communications with industry-standard SSL encryption, ideal for publishing over your internal network or externally facing over the internet.
REQUIREMENTS:
The Management Server requires the following:
- Windows Server 2012 or above
- At least 4 GB of RAM
- At least 1GB of free space
- .NET Framework 4.8.0 or above
- Web Sockets Protocol
- Internet Information Services (IIS) 8.0 or above
- SQL Server 2012 or above
- Evergreen Bootstrapper distribution (7.2 only) - https://developer.microsoft.com/en-us/microsoft-edge/webview2/
- .NET Core 6.0 Runtime specific - https://dotnet.microsoft.com/download/dotnet/6.0
Server Manager - Add Roles and Features:
- BitLocker Driver Encryption
- BitLocker Network Unlock
- NET Framework 4.7 Features
- .NET Framework 4.7
- ASP.NET 4.7
- WCF Services
- HTTPActivation
- Internet Information Services
- World Wide Web Services
- Application Development Features
- .NET Extensibility 4.7
- ASP.NET 4.7
- ISAPI Filters
- WebSocket Protocol
- Common HTTP Features
- Default Document
- Security
- Request Filtering
- Application Development Features
- World Wide Web Services
- Windows Process Activation Service
- Configuration APIs
- Process Model
- .NET Framework 4.7
Firewall ports needed for communication:
Port: 80 TCP / 443 TCP
Source: ThinKiosk devices
Destination: ThinScale Management Server
Description: ThinKiosk device communication with ThinScale Management Server
Port: 3389 TCP and UDP
Source: Devices running the ThinScale Management Console
Destination: ThinKiosk devices
Description: Remote Control of ThinKiosk devices from the ThinScale Management Console
Port: 49152-65535 TCP and UDP
Source: Devices running the ThinScale Management Console
Destination: ThinKiosk devices
Description: Remote Control of ThinKiosk devices from the ThinScale Management Console
1. INSTALLATION:
1.1. Copy the installation media to a temporary folder on a local drive on the server and run the installation media (ThinScaleManagementServer-.x.x.exe).
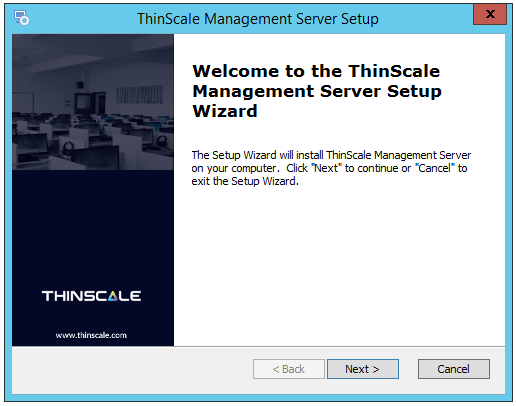
1.2. Click ‘Next’
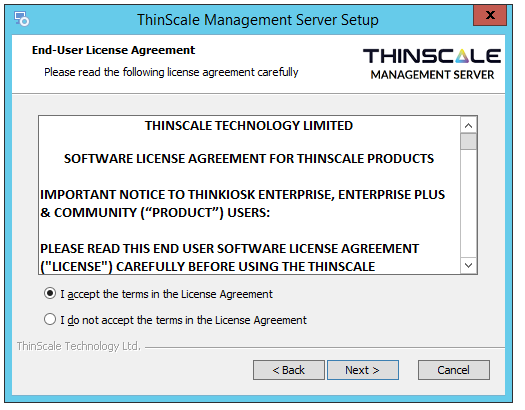
1.3. Accept the License Agreement and click ‘Next.’
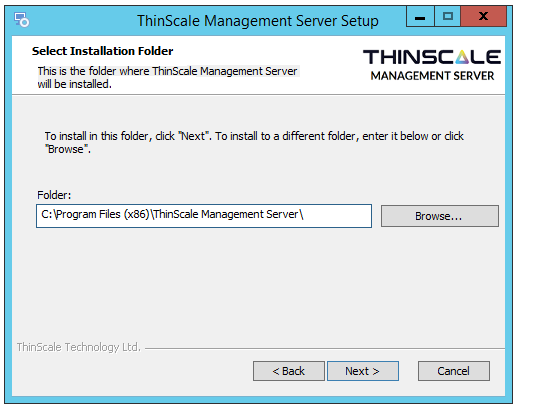
1.4. Select the installation folder and click ‘Next.’
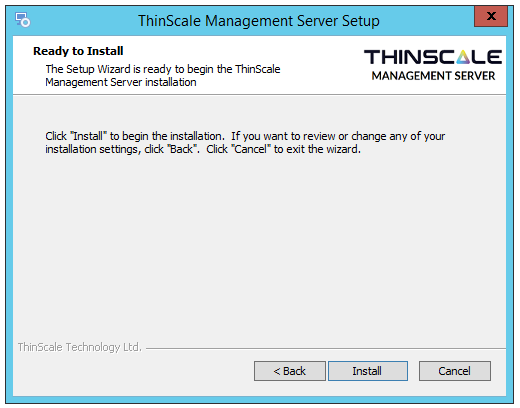
1.5. Click ‘Install.’ The installation will install any required Windows Components and configure Internet Information Services.
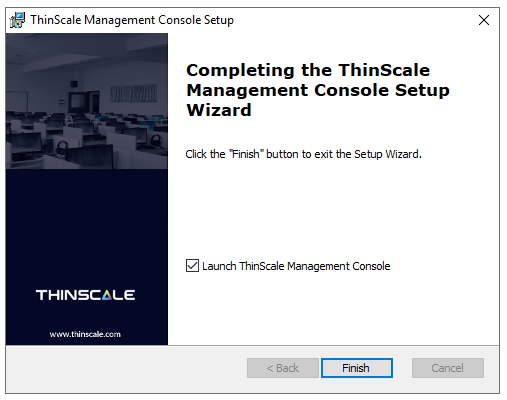
1.6. Click ‘Finish.’
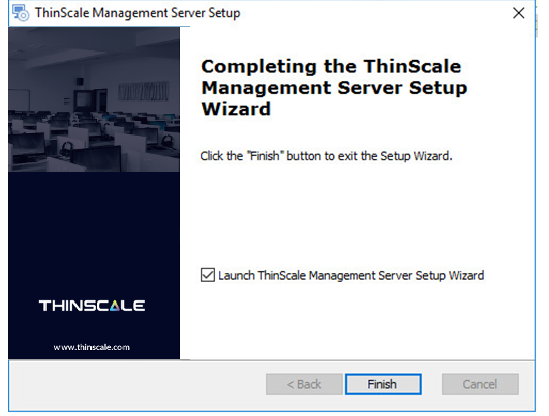
After installation, the ‘ThinScale Management Server Setup Wizard’ (if selected) will launch to complete the configuration of the Management Server. This setup wizard can also be launched from the Start Menu.
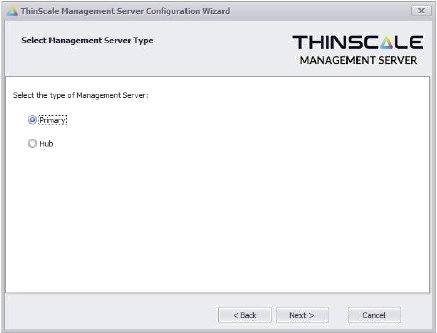
MANAGEMENT SERVER DEPLOYMENT TYPES
The Management Server can be configured as a Primary or Hub server.
Primary
- Primary servers require a direct connection to the Local or SQL database.
- Primary servers must communicate directly with all other Primary servers in the deployment.
- The first server added to the deployment must be a primary server.
Hub
- Hub Servers do not require a connection to the Local or SQL database.
- Hub Server communication is proxied via a Primary server and, therefore, requires access to a Primary server in the deployment.
- Hub Servers are ideal for branch offices where direct access to the SQL database may not be possible.
- Hub Servers also act as software deployment points, reducing the data sent between offices when deploying software packages to clients.
- Hub to Primary server communication is all via HTTP/S.
2. MANAGEMENT SERVER SETUP WIZARD
During the configuration of a new deployment, the setup wizard will install and configure the management server deployment database.
2.1. Launch the setup wizard.
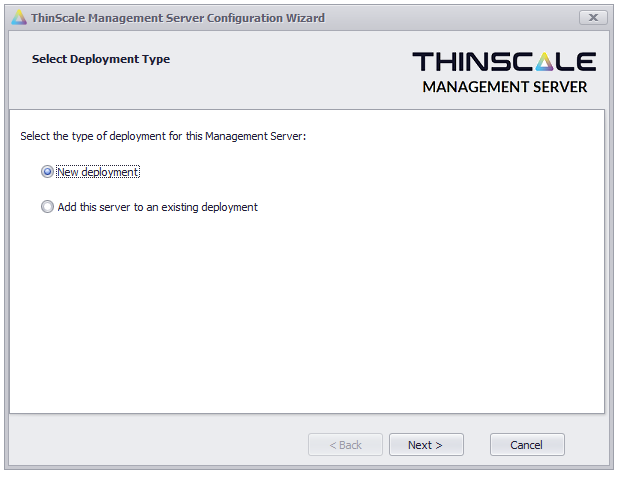
2.2. Select ‘New deployment’ and click ‘Next.’
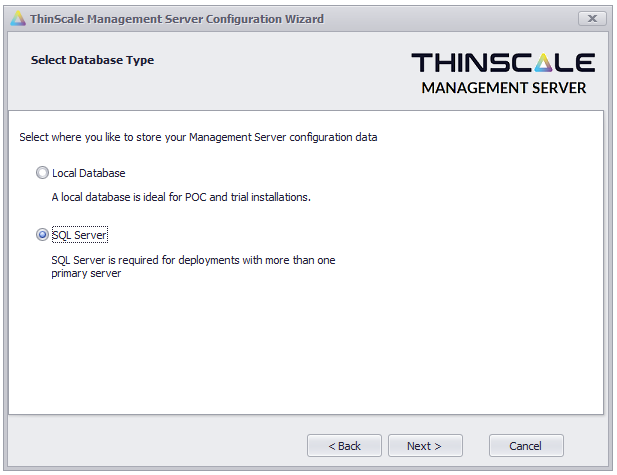
2.3. Select ‘Local Database’ or ‘SQL Server’ and click ‘Next.’


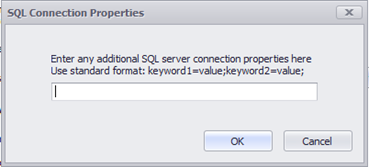
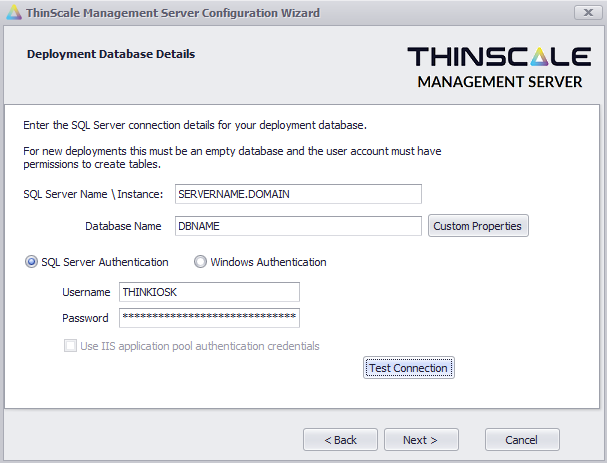
If you select ‘SQL Server,” you will be prompted with the database details screen below:

2.4. Select "SQL Server Authentication" to authenticate your database using a local SQL server account. Additionally :
Windows Authentication – Select this option to use a domain account with access to your SQL database.
Use IIS application pool authentication credentials – Select this option to connect to the SQL database using the identity under which the IIS Application Pool is running.
2.5. Click ‘Test Connection’
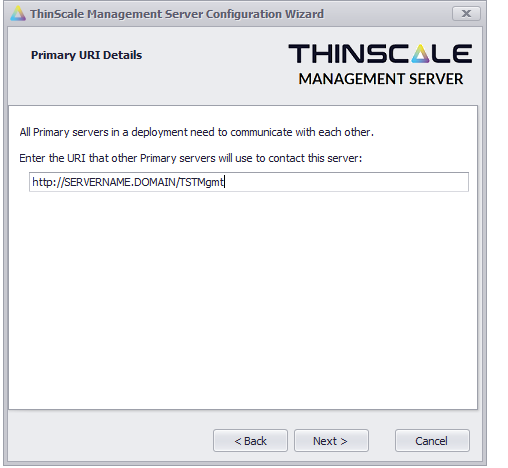
2.6. Enter the URI that other Primary servers in this deployment will use to communicate with this server. Click ‘Next’
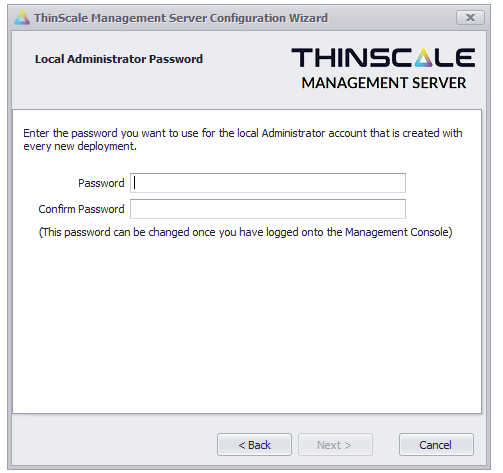
2.7. Enter the password you want to use to access the Management Console using the auto-generated Administrator account. This can be modified later, if needed, inside of the Management Console. Click ‘Next’
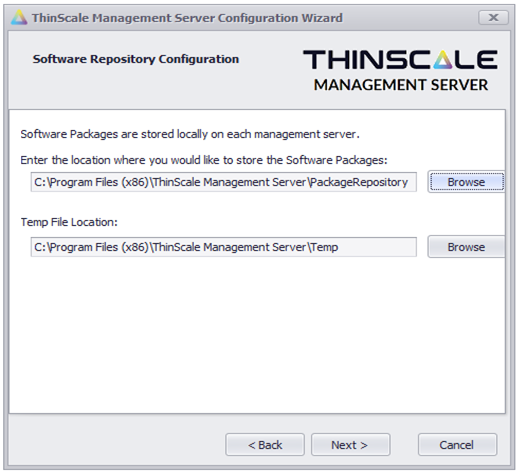
2.8. Enter a location for the software packages and temporary file storage and click ‘Next.’
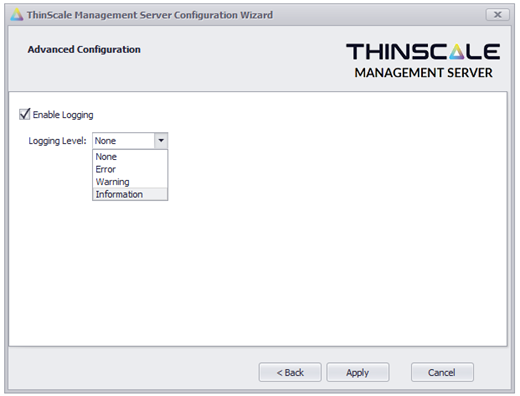
2.9. Select the required logging level and click ‘Apply.’
The wizard will complete the following tasks:
- Create the software package and temporary folders
- Create the deployment database schema
- Save the Management Server configuration file
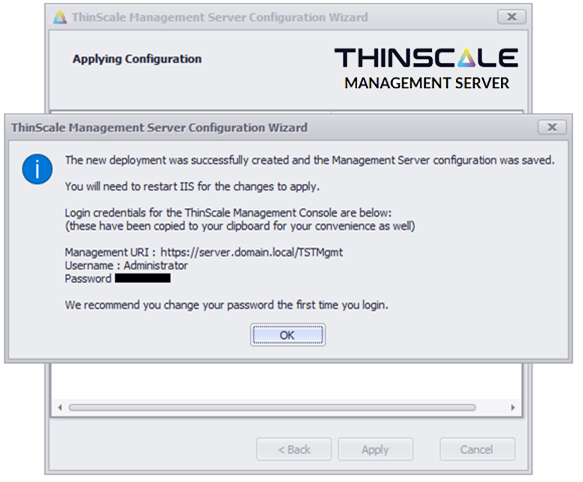
When the setup has been completed, you will be prompted to restart IIS for the changes to take effect. The default login credentials will be displayed when the deployment database is configured.
3. NEW PRIMARY OR HUB SERVER
Before you add a new Primary server to an existing deployment, you will need the following:
- SQL Server connection details
- The URI of an existing server in the deployment to authenticate this new server
- Login credentials to the existing deployment that has permission to add management servers
3.1. Launch the setup wizard.
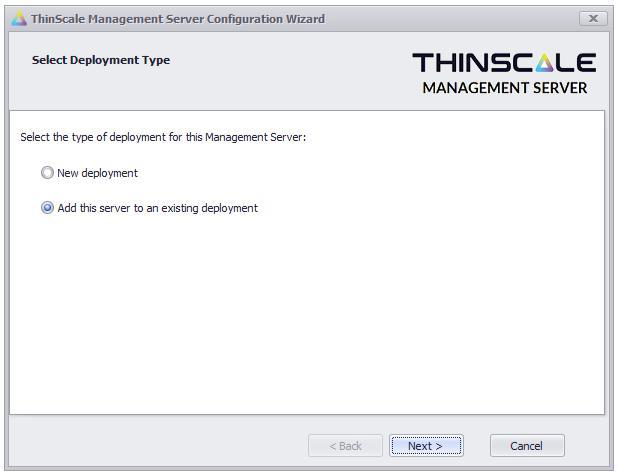
3.2. Select ‘Add this server to an existing deployment’ and Click ‘Next’
3.3. Select "Primary" or "Hub" and click ‘Next.’
"SQL Server Authentication" to authenticate your database using a local SQL server account.
Windows Authentication – Select this option to use a domain account with access to your SQL database.
Use IIS application pool authentication credentials – Select this option to connect to the SQL database using the identity under which the IIS Application Pool is running.
3.4. Click ‘Test Connection’
3.5. Enter the URI that other Primary servers in this deployment will use to communicate with this server. Click ‘Next’
3.6. Enter the password you want to use to access the Management Console using the auto-generated Administrator account. This can be modified later, if needed, inside of the Management Console. Click ‘Next’
3.7. To join a deployment, you must authenticate with a Management Server that is part of the deployment you are joining. Enter the URI of an existing server and a user's credentials within the deployment with permission to add Management Servers. Click ‘Verify Management Server.’
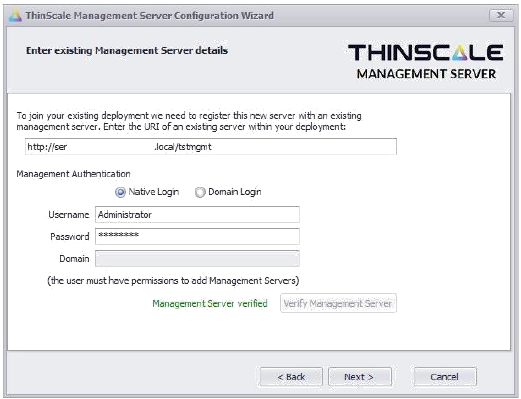
If the setup wizard can successfully connect to the existing Management Server, a ‘Management Server verified’ message will appear. If the connection is unsuccessful, a message detailing the reason for failure will be shown.
3.8. Enter a location for the software packages and temporary file storage and click ‘Next.’
3.9. Select the required logging level and click ‘Apply.’
The wizard will complete the following tasks:
- Create the software package and temporary folders
- Create the deployment database schema
- Save the Management Server configuration file
When the setup has been completed, you will be prompted to restart IIS for the changes to take effect. The default login credentials will be displayed when the deployment database is configured.
4. CONFIGURATION CHANGES
After the configuration wizard has been run, you can use the same configuration wizard to alter the active Management Server configuration. Launch the ‘ThinScale Management Configuration’ from the Management Server start menu.
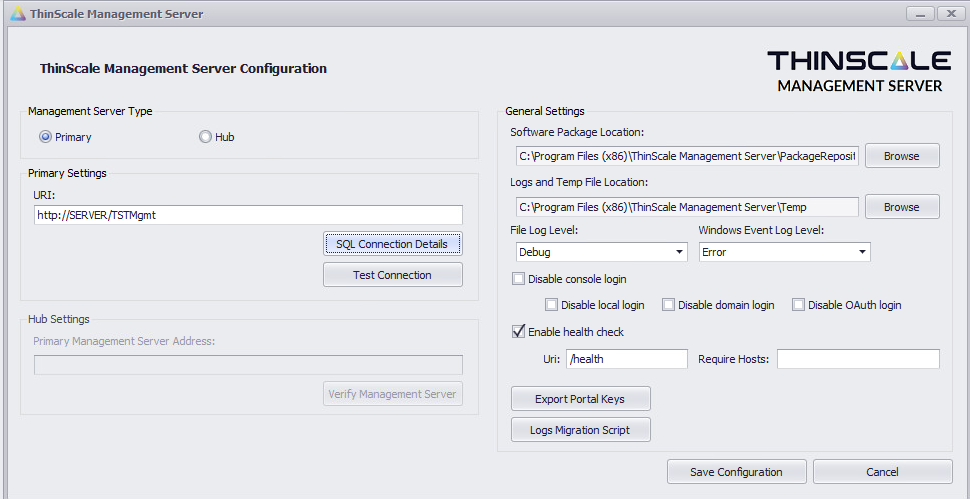
The following Management Server settings can be modified:
- Management Server Type
- Primary URI
- Database Type
- SQL Connection Details
- Hub Servers Settings
- Software Package Repository Location
- Temp File Location
- Logging Level
- Custom Properties
If you need to reconfigure this server completely, you can run the following command to start the Setup Wizard:
5. INTERNET INFORMATION SERVICES CONFIGURATION
The ThinScale Management Server is configured as an application / virtual directory within the ‘Default Web Site.’ It can be accessed at http(s)://servername/TSTMgmt
6. CONFIGURING SSL
As the ThinScale Management Server is installed within the ‘Default Web Site,’ it also inherits the ‘Default Web Site’ bindings. Using the Internet Information Services Snap-in, you can add an HTTPS binding to the ‘Default Web Site’ and select the required SSL certificate.
7. LOGGING
The ThinScale Management Server will log any changes/actions to a log file in the Temp File location configured during the Management Server Setup Wizard. The log file’s name is ManagementServerLog.log, primarily used by ThinScale support.
If the ThinScale Management Server is restarted, it will back up to this log file to ThinScaleManagementLog.log_old.
8. LICENSING
The ThinScale Management Server can only be used with Enterprise Licensing. The community edition(s) cannot be used.
Contact sales@thinscaletechnology.com for a quote on licensing or an extension of your trial license.
9. UNINSTALLING THE THINSCALE MANAGEMENT SERVER AND CONSOLE
The ThinScale Management Server is an MSI-based installation and will appear in Program and Features within the Windows Control Panel.
To uninstall:
• Open Control Panel
• Select Programs -> Program and Features
• Right-click ThinScale Management Server or ThinScale Management Console and select ‘Uninstall’
• Follow the uninstall instructions
A reboot may be required once the uninstall has been completed.
10. INSTALLING THE MANAGEMENT CONSOLE
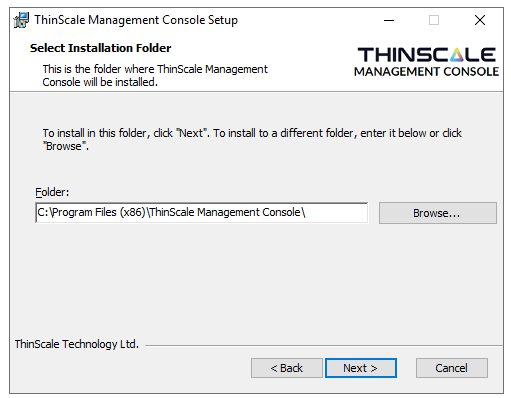
The default installation directories are listed below:
- 64-bit machine: C:\Program Files (x86) \ThinScale Management Console
-
32-bit machine: C:\Program Files\ThinScale Management Console
A silent installation is supported using the command: “msiexec /I ThinScaleManagementConsole-8.0.x.msi /QB /norestart”
10.1. Copy the installation media to a temporary folder on a local drive on the server and run the installation media (ThinScaleManagementConsole-.x.x.exe).
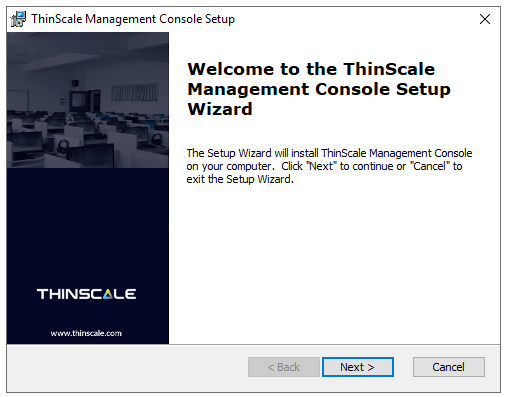
1.2. Click ‘Next’
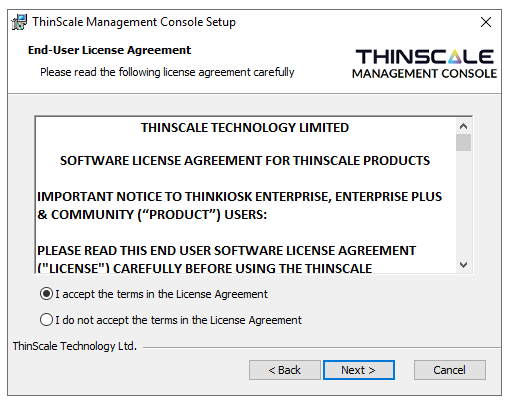
1.3. Accept the License Agreement and click ‘Next.’
1.4. Select the installation folder and click ‘Next.’
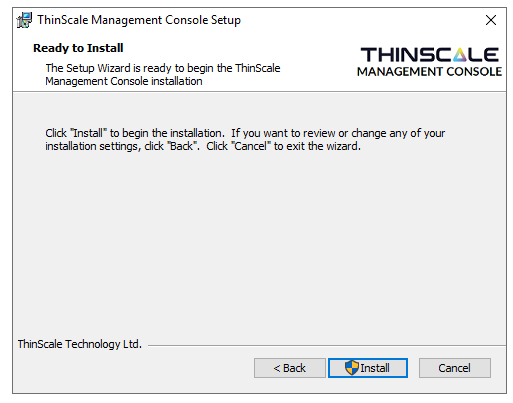
1.5. Click ‘Install.’
1.6. Click ‘Finish.’