Snipping Tool using Dual Persona
How to set up snipping tool with Dual Persona (Win10 and 11).#SRW-KB13

Written by
Last published at: June 30th, 2023Estimated reading time: 1 minute and 19 seconds.
This article will provide you with the best configuration to use Snipping Tool from the Windows Store on Win10 and 11.
STEP1: CREATING A LOCAL APPLICATION PATH
1.1. Please navigate to Applications -> Local Applications
1.2. Right-click over the application list. Select the option "Add" then "Add Custom Application."

1.3. Fill out the Custom Application with the information below.
Display Name: Microsoft Snip & Sketch
Command Line: Microsoft.ScreenSketch_8wekyb3d8bbwe!App
Windows Store App - ENABLE
Disable file system redirection - ENABLE
STEP2: ENABLING UWP APPLICATIONS
2.1. Please navigate to Computer Settings -> Session Settings 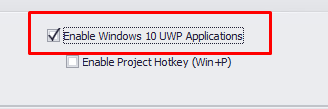
2.2. Enable Windows 10 UWP Applications - ENABLE
STEP3: SETTING UP THE WRITABLE LOCATIONS
3.1. Please navigate to End Point Security -> Dual Persona
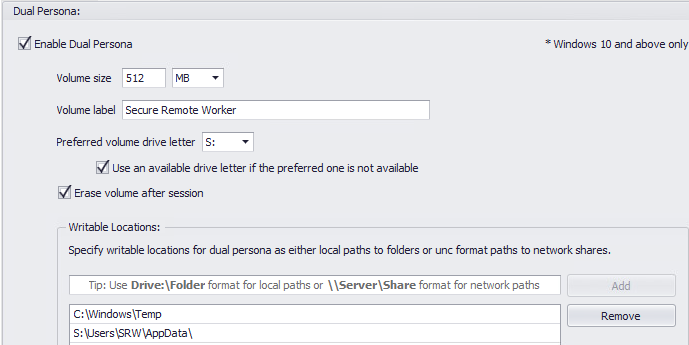
3.2. Add the writing locations below:
C:\Windows\Temp
Drive:\SRW\Users\AppData
Warning
The DRIVE is the letter from your Dual Persona virtual disk.
STEP4 - DELETING CACHE FROM WIN11 (OPTIONAL)
On Win11 is a behavior from the OS to automatically save the images captured locally. The workaround for this solution is to run a "Logoff Script" to erase all the information when the agent leaves the session.
4.1 Please navigate to Computer Settings -> Logoff Script
4.2 Enable the option "Enable Logoff Script" and "Run Logoff Script visible to users."
4.3 Select the Type: .ps1 on the left side and paste the script below.
PowerShell Script
#Removing Folders (Desktop, Documents, Downloads, Pictures, Music, Videos, Google)
Remove-Item "$env:USERPROFILE\Desktop" -Recurse -Force
Remove-Item "$env:USERPROFILE\Documents" -Recurse -Force
Remove-Item "$env:USERPROFILE\Downloads" -Recurse -Force
Remove-Item "$env:USERPROFILE\Pictures" -Recurse -Force
Remove-Item "$env:USERPROFILE\Music" -Recurse -Force
Remove-Item "$env:USERPROFILE\Videos" -Recurse -Force
Remove-Item "$env:LOCALAPPDATA\Google\Chrome" -Recurse -Force
#Creating Folders (Desktop, Documents, Downloads, Pictures, Music, Videos, Google)
New-Item "$env:USERPROFILE\Desktop" -ItemType Directory -Force
New-Item "$env:USERPROFILE\Documents" -ItemType Directory -Force
New-Item "$env:USERPROFILE\Downloads" -ItemType Directory -Force
New-Item "$env:USERPROFILE\Pictures" -ItemType Directory -Force
New-Item "$env:USERPROFILE\Music" -ItemType Directory -Force
New-Item "$env:USERPROFILE\Videos" -ItemType Directory -Force
New-Item "$env:LOCALAPPDATA\Google\Chrome" -ItemType Directory -Force