Welcome to the Secure Remote Worker Single Click Profile Guide
Welcome to the Secure Remote Worker Single Click Profile Guide. #SRW-KB5

Written by
Last published at: June 26th, 2024This article will show how to create a single click Secure Remote Worker package installation for your home users, faster and easier than ever before.
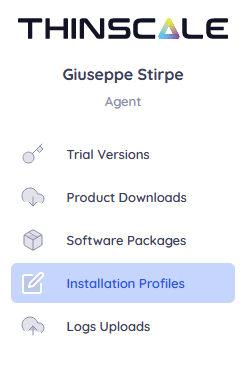
Login to the Portal and select "Installation Profiles"
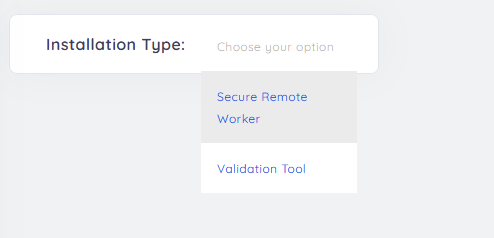
Select the option "Create Secure Remote Worker Profile".
The installation profile will contain all the configuration and data needed to create a single click installation which will redirect the Secure Remote Worker machine into your Management Console without any or limited user interaction.
Let's analyze the options together.
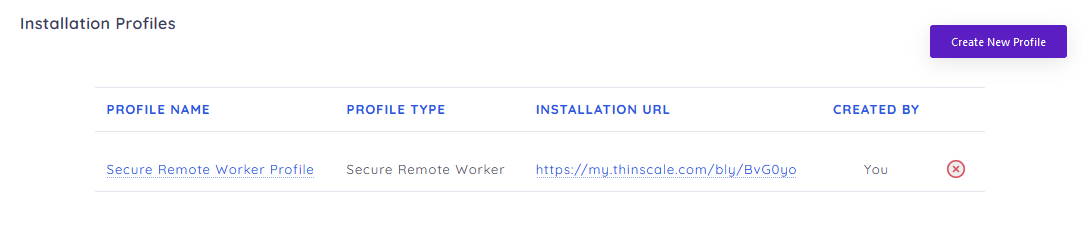
The User Install URL is generated automatically and it is used to download the MSI from our Portal after all the configurations are saved.
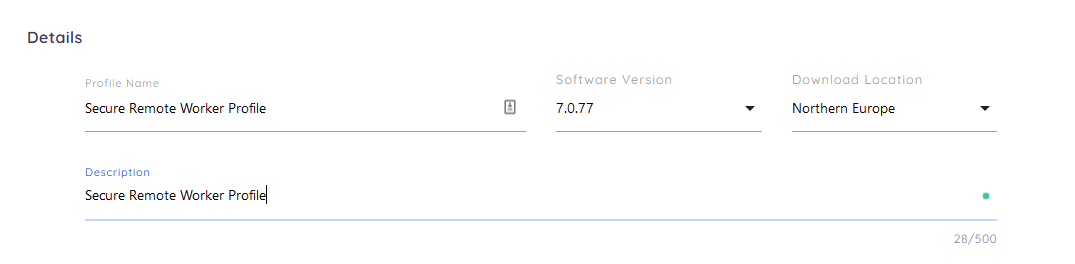
Profile Name and Description is just a user-friendly naming convention for the administrator to distinguish the different installation profiles in the case where multiple profiles are generated.
The SRW version will be the version that will be downloaded and installed on the end-user PC. It's always recommended to pick the latest available.
The Download Location is the location where the MSI will be downloaded.
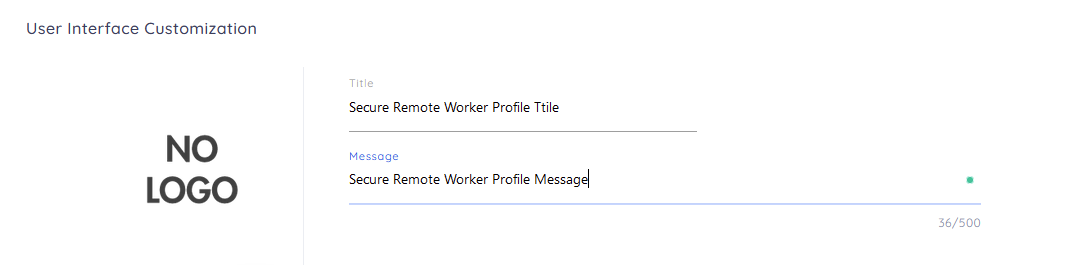
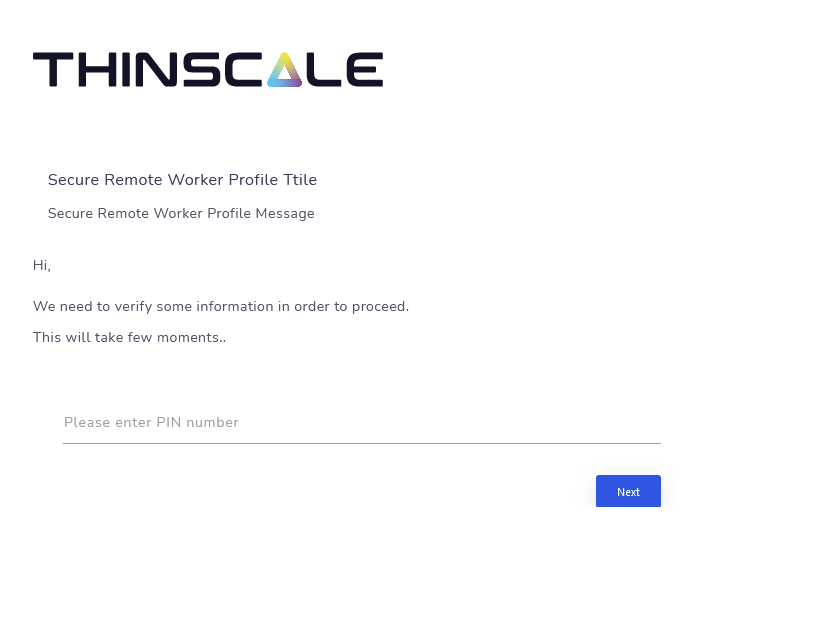
The Title and the Message are the first things your end-users will see.
The custom image is used to brand your own installation wizard.
Note: logo size must be no bigger than 180x90 in size and extension must be .png
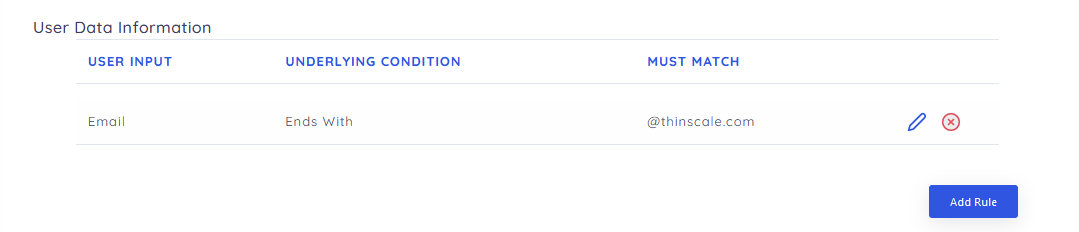
The User Data Field section is used to validate the user that is installing the Secure Remote Worker Software.
Note: you can have multiple Rulesets.

The Security Access Code section is an extra layer of security that you can have to validate the user prior to the full installation of the Secure Remote Worker software.
Access Code Title and Access Code Data are fields that a Home User must know before proceeding to the installation.
Note: you can have multiple Rulesets.
Secure Remote Worker Management Server Details
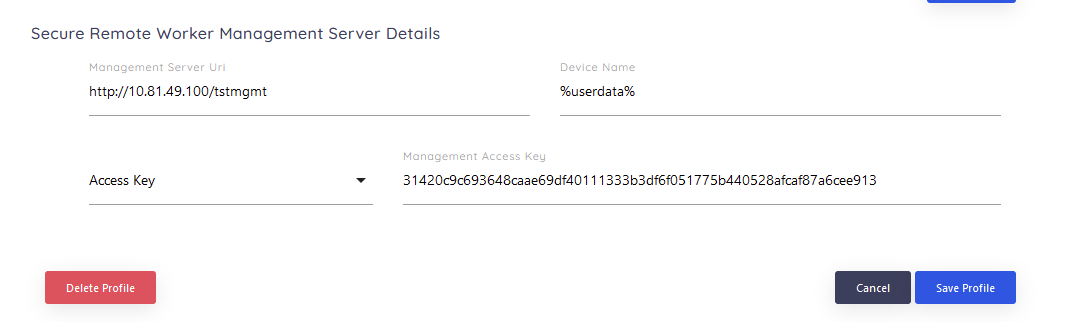
Management Server URI, Site Password and Site Username or alternatively Access Key are all options you should already have in your environment. If instead, you want to use the default site, please use the checkbox "Use Default Site".
DEVICE NAME uses windows environment variables to save the Device with a specific name. By Using %userdata% the device name will contain anything contained in the User Data Field section. You can pre append or post append any other environment variable and you can add more %userdata2%, %userdata3% if you have more user data fields.
%COMPUTERNAME% will use the compute name to identify the PC inside the console
%USERDOMAIN% will use the domain name and so on
Click "Save Profile"
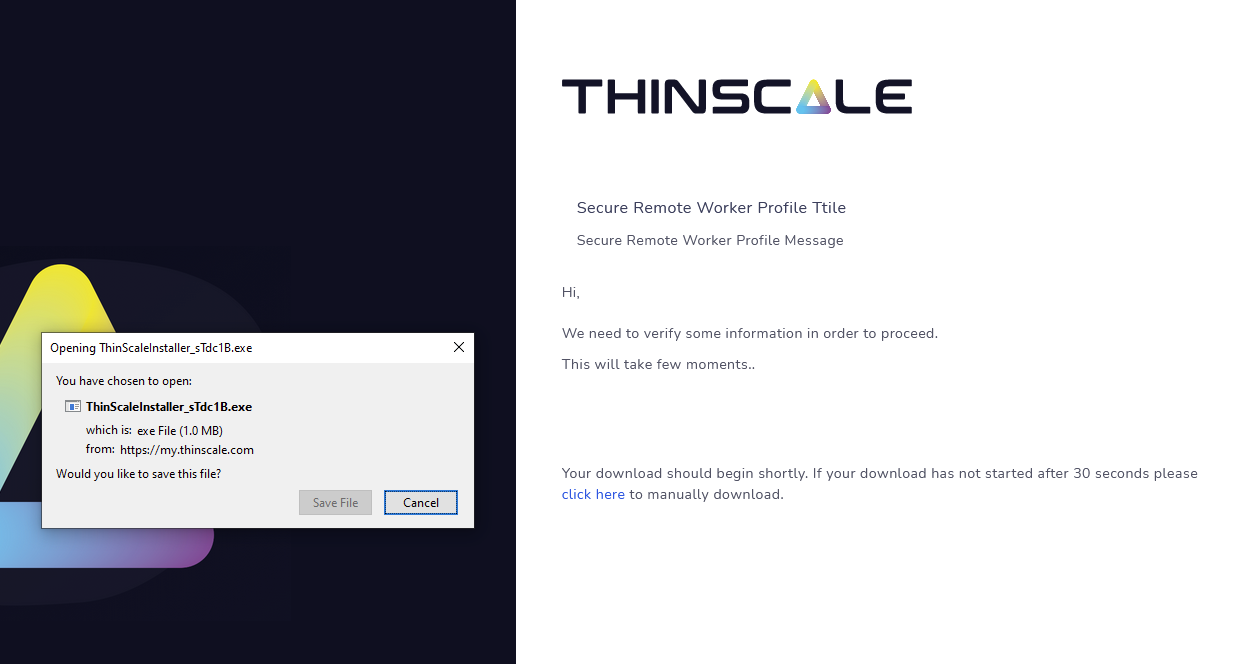
By clicking the URL in the list, the download page will be presented and after validating the information your administrator has set like PIN or Email address, the single click installation executable will be downloaded.
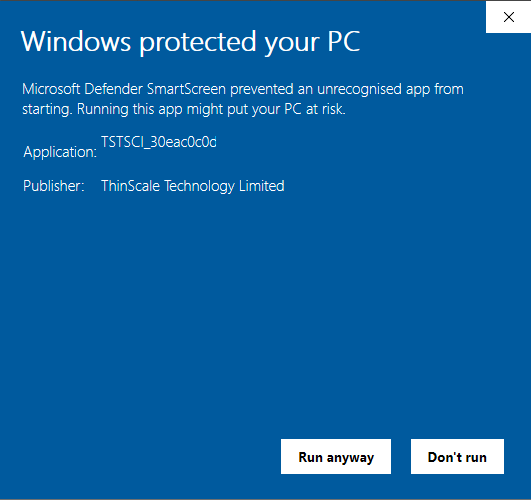
There could be cases where Windows Defender may block the installation. Just click More Info and select Run Anyway. The MSI is digitally signed and IT IS NOT A VIRUS.
After a successful download, the UI will be displayed.
Based on the configuration pre-configured above this is what I will get when running the executable.
Let's use the right one now. Email must end with "thinscale.com" and PIN must be "12345".
Click Install.
if a green toolbar is shown, you are successfully downloading and successfully instaling the software.
Job done !!!!!!!!
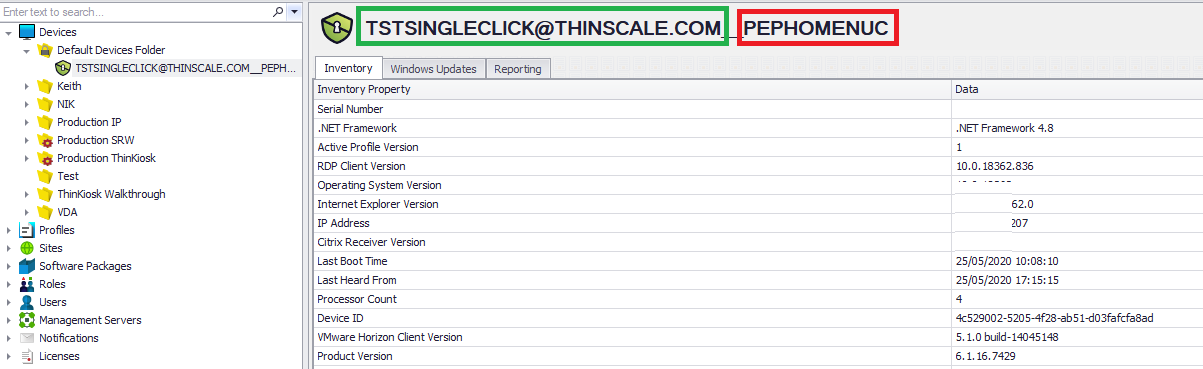
If we open the Console we will have the new SRW installed. With little user interaction and with no sensitive data given away your user will be up and running in no time.