Connecting to a network
This article will outline the steps to using a wireless or cabled network for Windows 7, 8 and 10

Written by
Last published at: February 28th, 2024Before you begin
If your organization needs to comply with Payment Card Industry Data Security Standard or PCI DSS regulations, then connecting to a wireless network or other public internet connection is not permitted in these environments. Please check with your IT and security teams.
Physical cabled network connections
If you are unable to connect to a wireless network due to your companies IT security policy, then you will need to plug your PC directly into your network router using an Ethernet cable as shown in the diagram below:
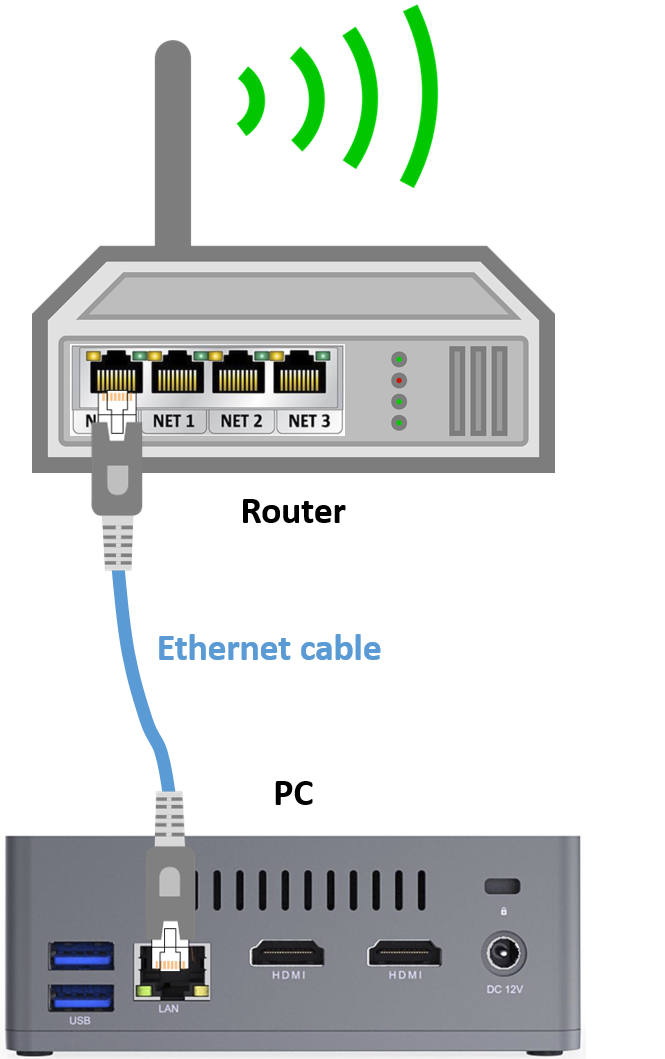
Simply plug one end of the Ethernet cable into one of the ports on the back of your router, and the other end of the Ethernet cable into the port on the back of your PC or on your laptop. The network will configure automatically and you will then be connected.
Wireless network connections
If your organization permits the use of wireless network connections then you can simply connect to a wireless network following the steps outlined below for each operating system.
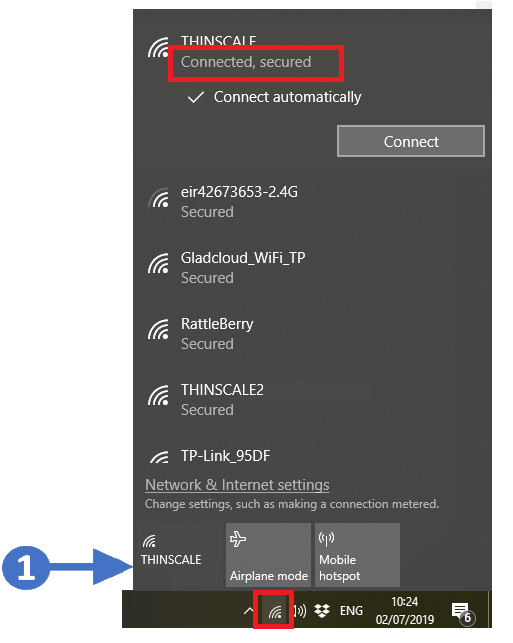
Wireless connections for Windows 10 devices
From your taskbar, on the right side of your monitor, click the Wi-Fi icon highlighted in red, and then select your desired wifi and click connect. Type your password, if any, and once connected the Wi-Fi text will change to Connected, secured.
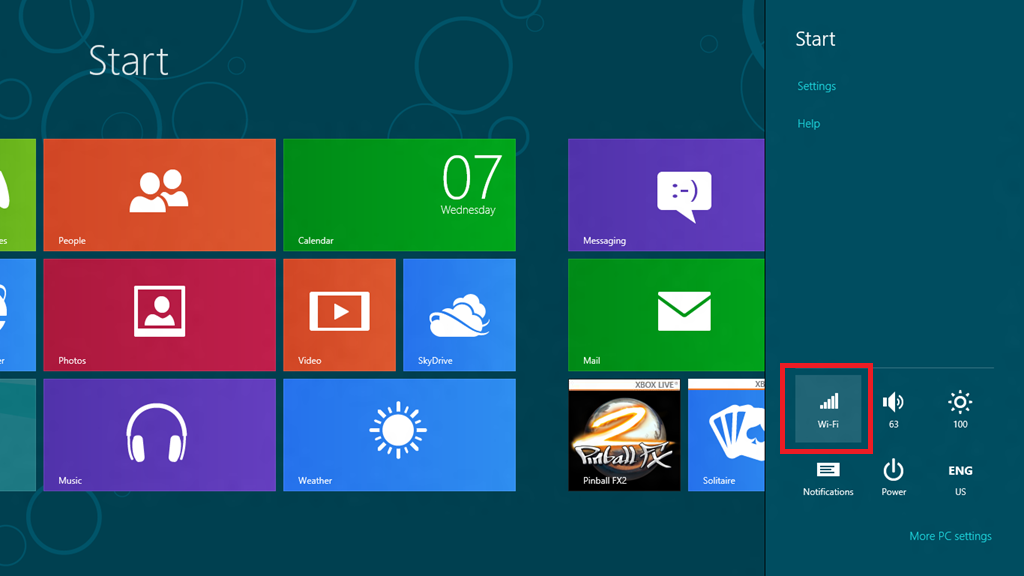
Wireless connections for Windows 8.x devices
Move the mouse cursor to the upper right corner of the screen until the Menu appears. Select Settings and then select WiFi.
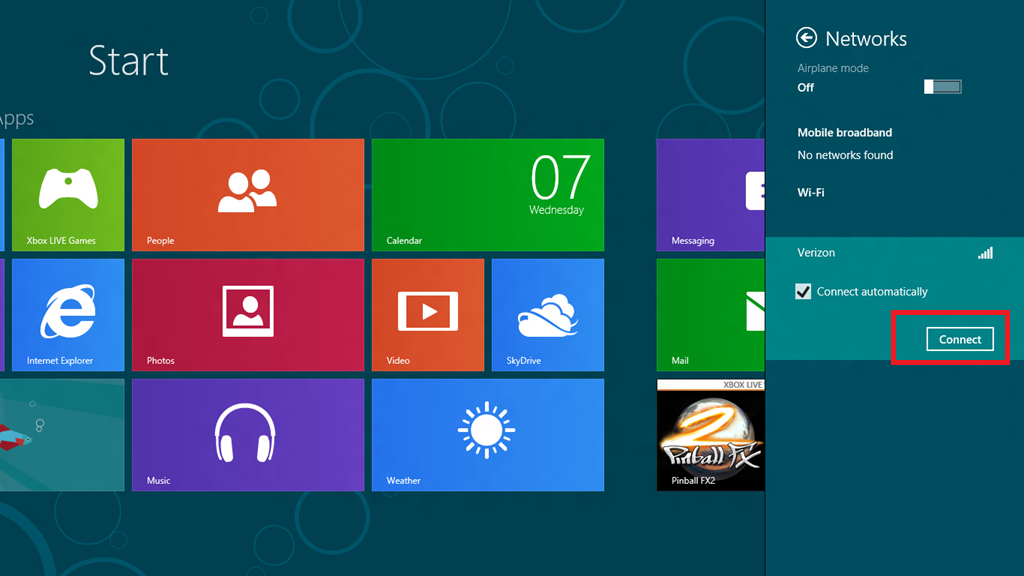
Select a wireless connection and enter the required password if any and click Connect
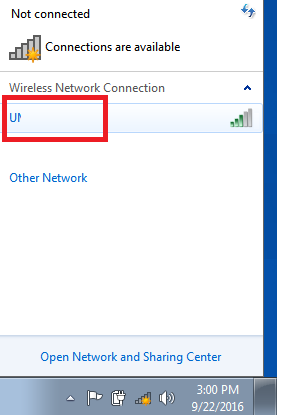
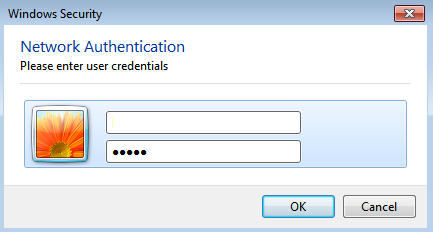
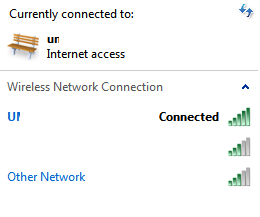
Wireless connections for Windows 7 devices
From your taskbar, on the right side of your monitor, click the Wi-Fi icon highlighted in red.
Select your desired wifi, click connect and type your password. if any.