Full Guide to Upgrade Server, Console, and End-Points
Step-by-step instructions to upgrade your environment to the latest version #MC-KB22

Written by
Last published at: November 25th, 2024Estimated reading time: 7 minutes, 52 seconds.
Before starting the upgrade process, you must know the version you are using in your environment. Please read the entire document to be familiar with what you expect during the process.
 Warning
Customers using old versions before v7.2 or LOCAL DB are HIGHLY RECOMMENDED to contact us first. Please get in touch with the support team with your current versions to receive additional instructions.
 Note
Note
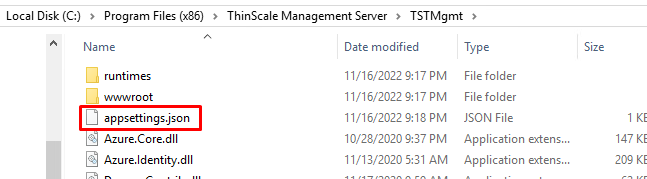
For customers running this specific version 7.3.24, before upgrading, please make sure your appsettings.json inside the TSTMgmt folder is copied. Perform the upgrade and then copy it back.
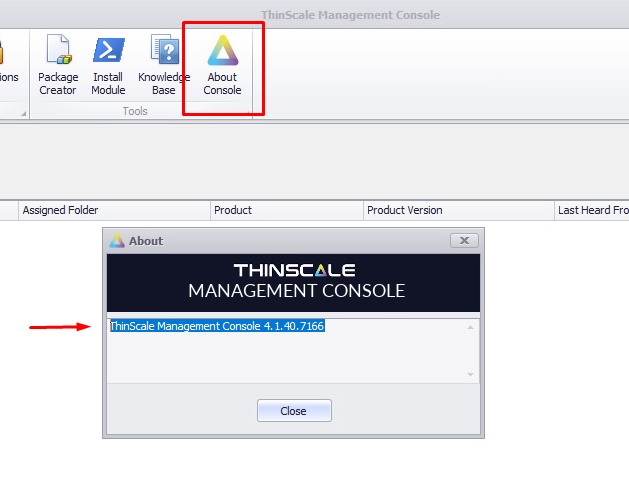
Identify Management Console Version
On the top menu of the console, click on the option “About Console.”
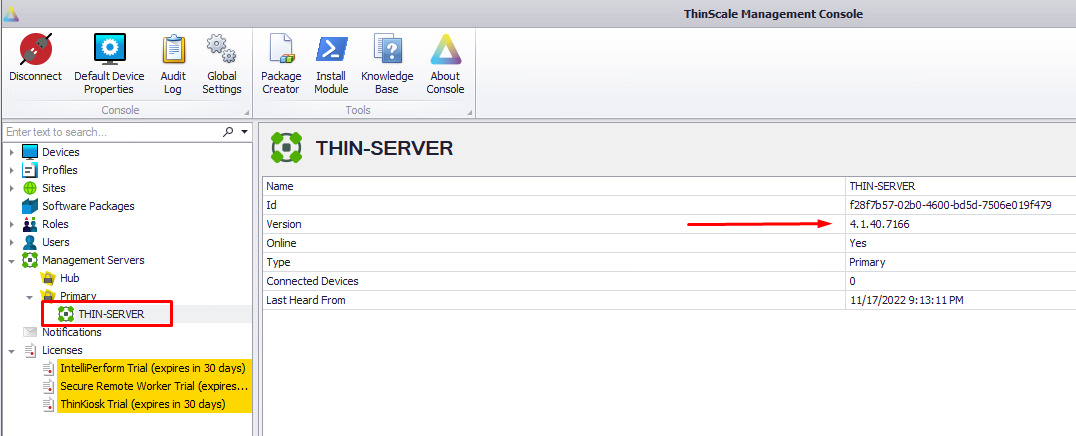
Identify Server Version
The quick way to find out is by expanding the option “Management Servers,” and “Primary” on the left side of the management console. Click on your server, and the version will appear on the right.
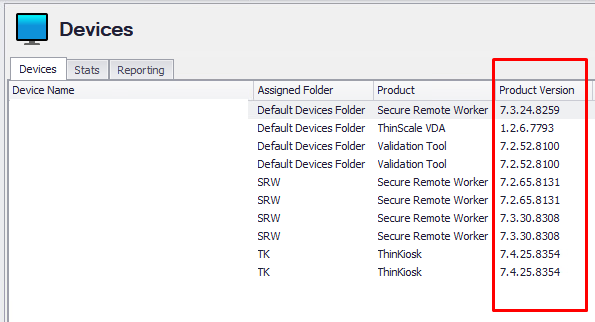
Identify the Agent Version
On the left side inside of your Management Console. Click on “Devices,” and it will display all machines.
This article is broken down into three parts.
Step 1 - Server Upgrade
STEP 1: UPGRADE THE SERVER
 Info
Info
Please consult your infrastructure team to follow your additional internal backup procedures.
1.1. Please first do a backup of the SQL database so that if there are any issues, they can be reverted. Within SQL Server Management Studio, right-click on the database you are using, select "Tasks," then "Back Up," and perform a full backup.

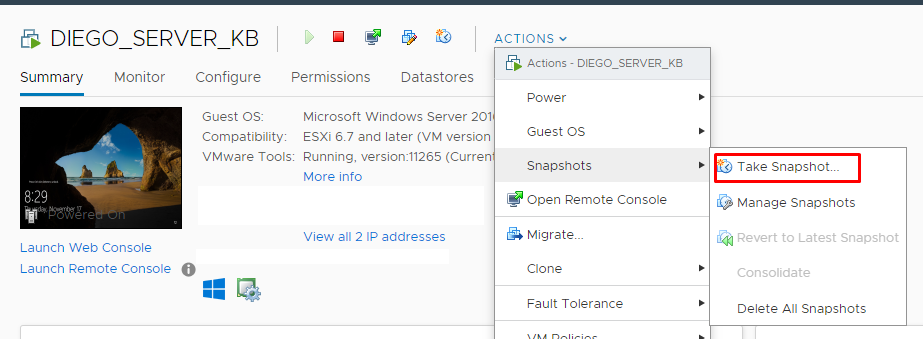
1.2. Next, please perform a backup of the server. One backup method is taking a snapshot if you use a virtual server.
1.3. We need to ensure the server is ready for the upgrade.
Warning
Please check this link Management Server and Console Requirements, to meet your server's NEW minimum requirements.
Info
It's recommended to have your Windows server updates applied before starting the process below.
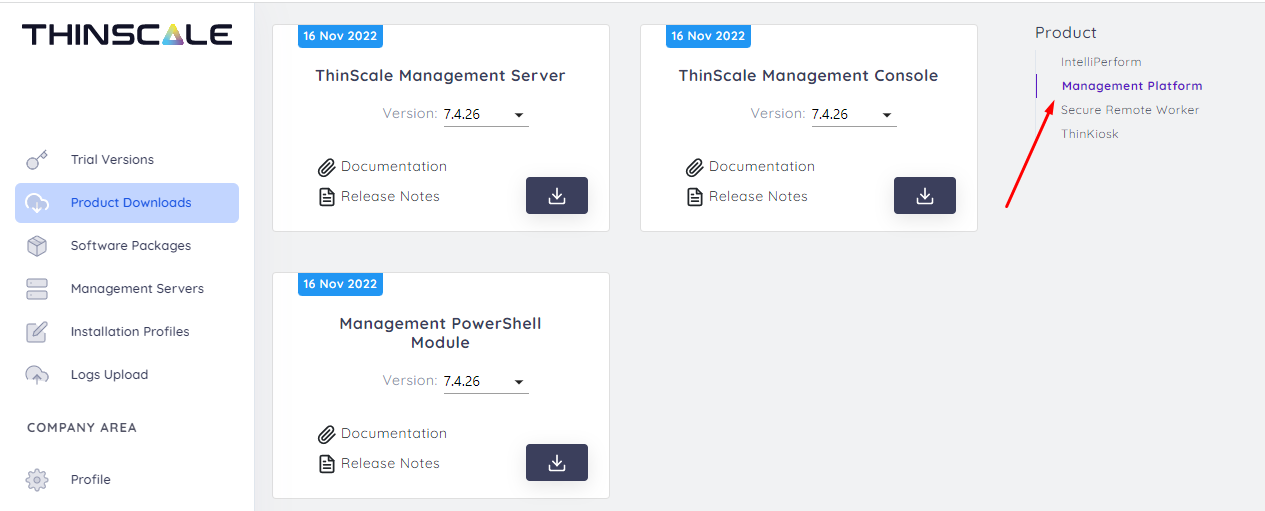
1.4. Then please log into the ThinScale Portal my.thinscale.com > Product Downloads > Management Platform and download the latest editions of the Management Server, Management Console, and PowerShell Module (if needed). The version numbering matches one another (in this case, v7.4.26 below).
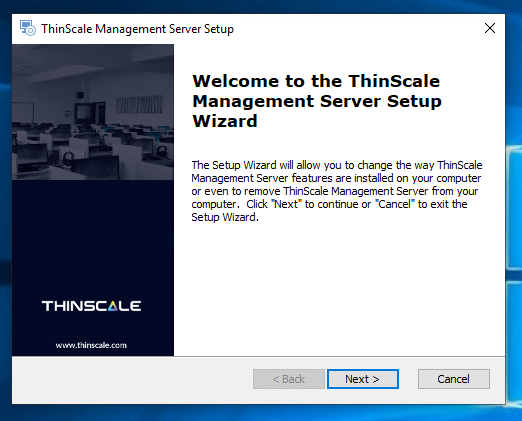
1.5. Make sure you apply, if necessary, the new requirements in section 1.3. Run the installer for the Thinscale Management Server upgrade first. It’s a typical Windows installer, and please proceed through the default prompts for it to complete. It will prompt for a reboot of the server when finished, however, this is unnecessary.
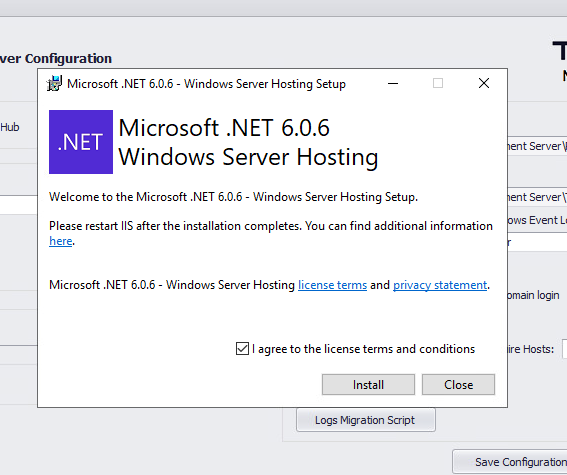
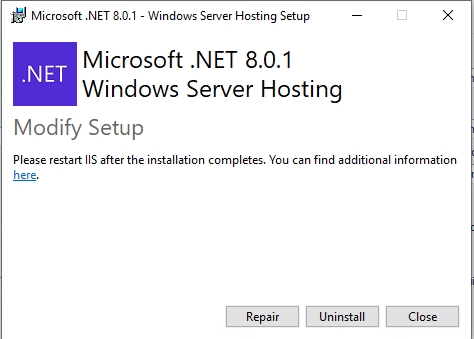
1.6. You may receive a screen to upgrade the Microsoft .Net Service. It's mandatory to install; otherwise, your migration will fail.
Info
Versions 8.0 up uses .NET 8.0.1. If the application is already installed on the Machine, it is unnecessary to “Repair” as Microsoft suggests on the screen. You can close the Windows and proceed to the next step.
Info
If you upgraded from version 7.3.24. In this case, you will need to close the ThinScale Management Server Configuration window and replace the .json file copied back to the folder C:\Program Files (x86)\ThinScale Management Server\TSTMgmt, then open the configuration again.
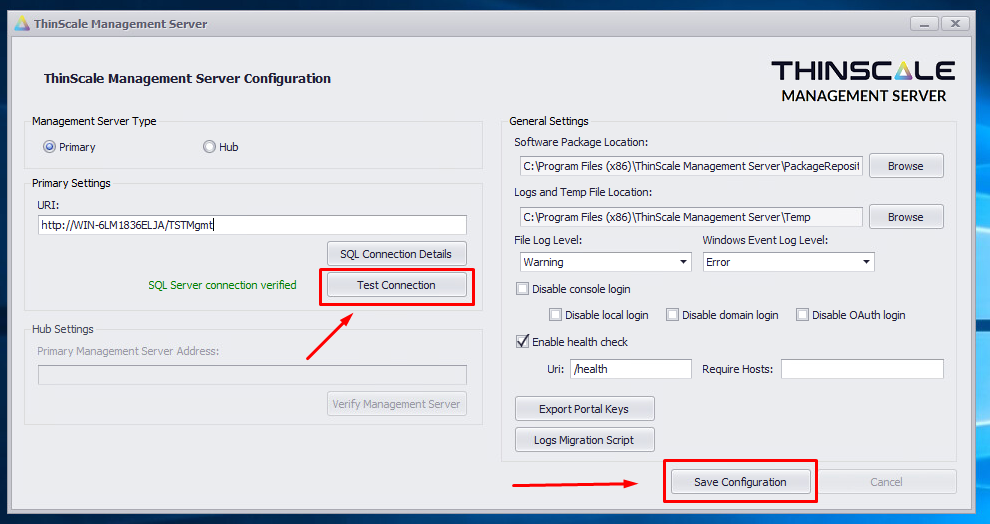
1.7. Afterwards, it will have you test/confirm the current settings in the Server Configuration (which should be retained from its previous status).
1.7.1. Click on the "Test Connection" button to validate the communication with your SQL Database.
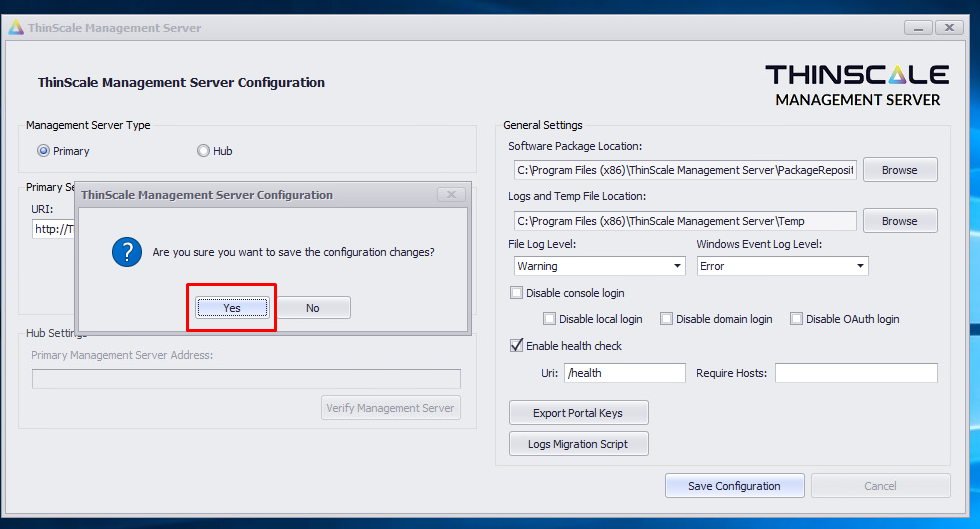
1.7.2. Click on the "Save Configuration" button to start the migration process.
,
1.7.3. It's not necessary to restart the IIS yet. Proceed to the next step, 1.7.4.
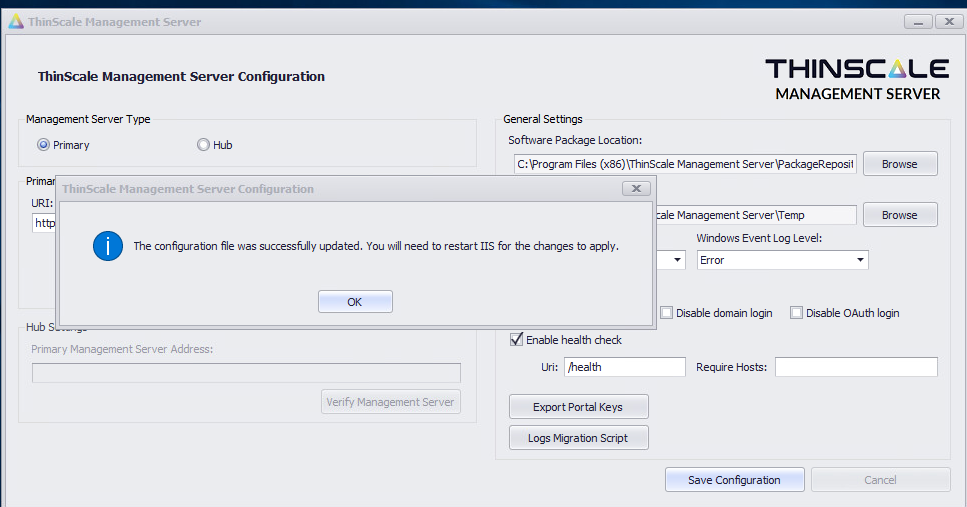
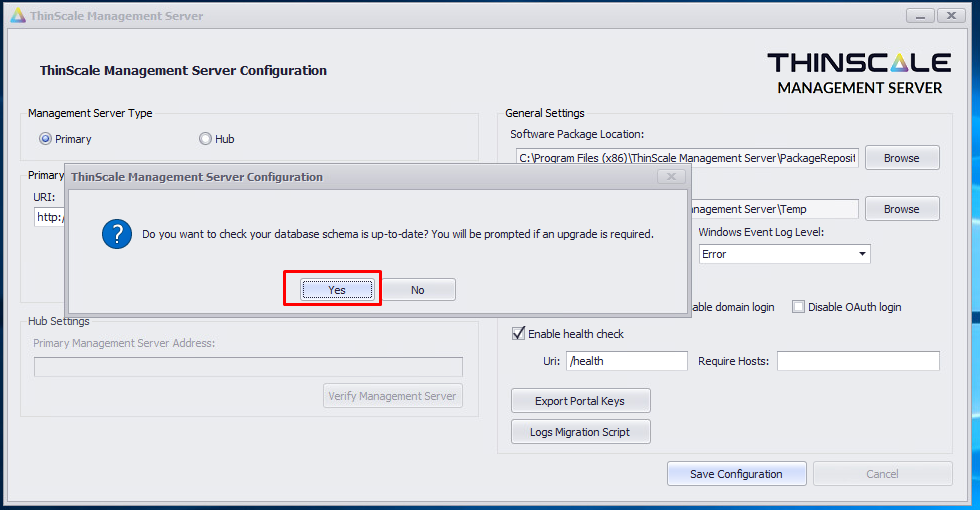
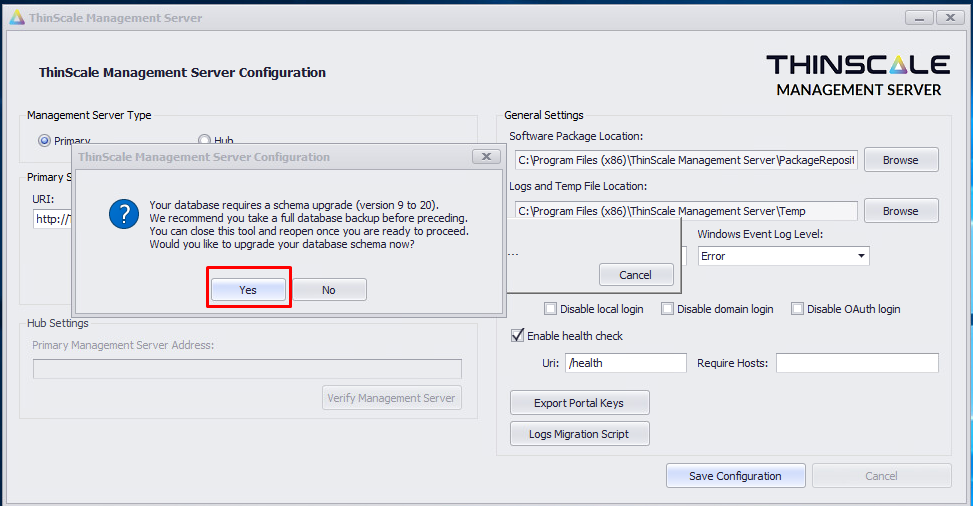
1.7.4 This step is when the software will migrate your database tables to be compatible with the new version.

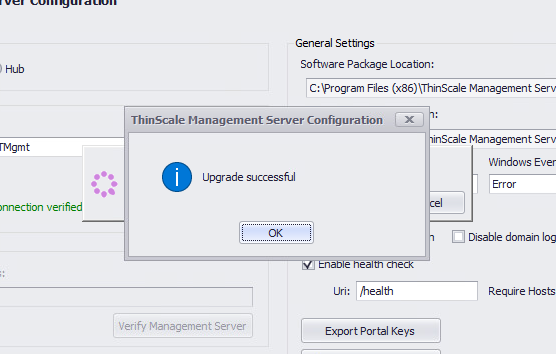
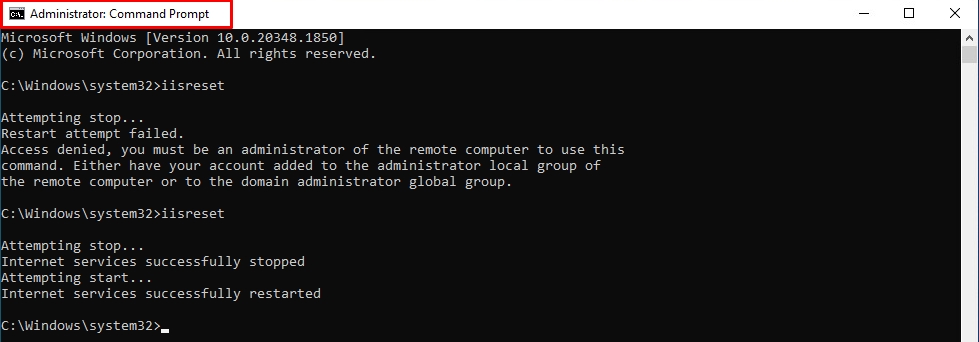
1.7.5. When the schema upgrade is complete, you must run Command Prompt as admin and do the IIS Reset command (iisreset).
Warning
Please note that clients currently connected will not be interrupted. It is only the case that if a client tries to launch a session and your organization uses an Authenticator Provider while the IIS is being reset freshly, they’ll have to wait for your server to come back online, which will usually take a few seconds, otherwise, their session will launch in offline mode, and it will automatically reconnect to your server without user interaction.
Info
If you receive an error running the command, please repeat the command. Make sure you're running the command prompt as administrator.
STEP 2: UPGRADE THE CONSOLE
2.1. Next, you can just run the installer for the Management Console upgrade, and similar to the Server upgrade, please have it proceed with the default options.
2.2. Then, you can launch the Console, type your current server URL, and use the console as usual. We also recommend running the Powershell Module upgrade, especially if you were using Powershell earlier. Side note: Powershell v7.1 is required to be installed on the machine.
2.3. Your server setup should be running as usual at this stage, and the server/console upgrade is complete.
ATTENTION
If you are upgrading your server and console to 8.x for the first time. As usual, all your clients will continue to be connected and managed via the console. For setting up your console to be used with TDA clients for the first time, please proceed to article TDA Quick-Start Quide.
STEP 3: UPGRADE THE END-POINTS
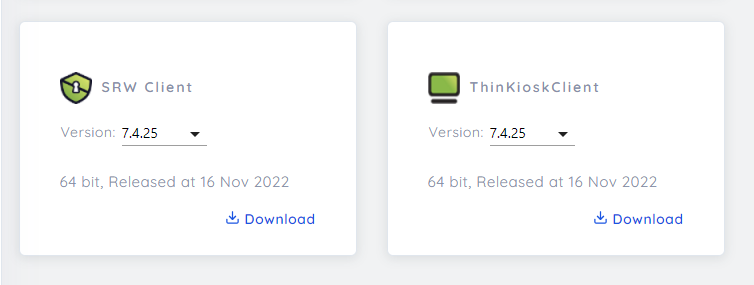
3.1. Please log into the ThinScale Portal my.thinscale.com > Software Packages, select the vendor on the right-side "ThinScale," and download the package you need to upgrade SecureRemoteWorker or ThinKioskClient.
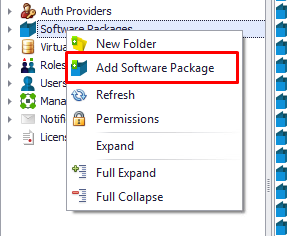
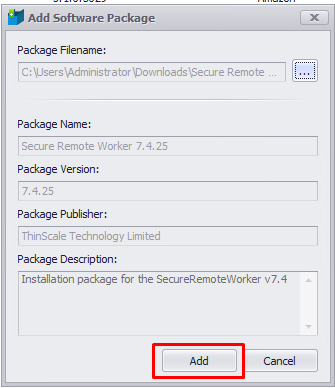
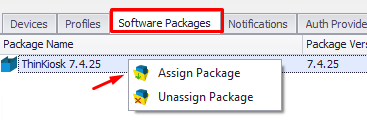
3.2. Inside your console, you will need to import the package. Right-click over "Software Packages" and select the option “Add Software Package.”
3.3. The package will be imported to your console. All our newest packages are coded in PowerShell. If your clients are using a version before v7.2, only vbs script is compatible. Please continue with the section below to adjust the software package and make it compatible with your clients, otherwise, jump to section 3.8.
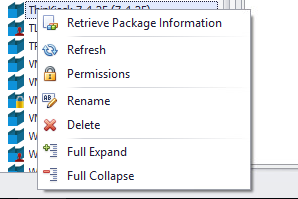
3.4. Please right-click over the new software package we imported and select the option "Retrieve Package Information."
3.5. Please rename or adjust the package's name so you can differ from the current one.

3.6. Please move to the tab "Install Script," change the type to ".vbs" and replace the current script with the code below for Thinkiosk (ThinKioskClient-7.4.25.msi) or SecureRemoteWorker (SecureRemoteWorker-7.4.25.msi).
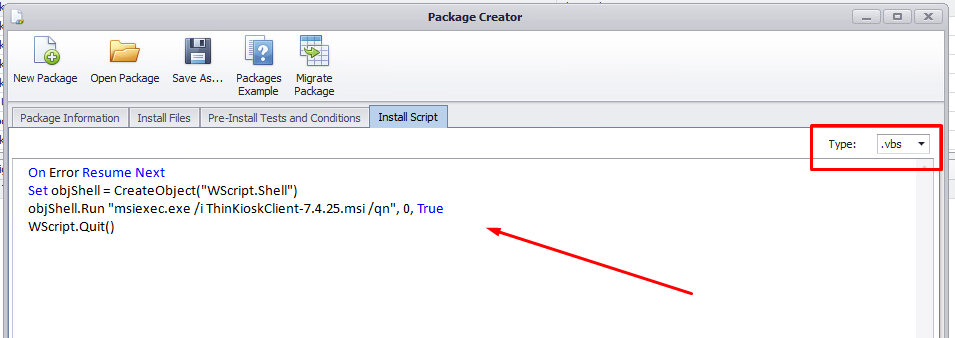
On Error Resume Next
Set objShell = CreateObject("WScript.Shell")
objShell.Run "msiexec.exe /i ThinKioskClient-7.4.25.msi /qn", 0, True
WScript.Quit()
Info
Side Note: The command above uses the argument "/qn" which means a full silence install without the agent interaction.
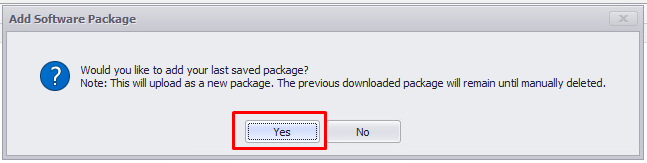
3.7. Click on "Save As..". The popup screen confirmation sometimes appears under the taskbar. You may need to click on that to appear on the front end. Please close the screen and accept the option to add (import) the new software package to the console.

3.8. The best practice is always to test out the new applications in your lab environment to get familiar with the new features, check compatibility with all your current applications, and then move to production after your team evaluation. We have KB with the release notes for Secure Remote Worker and ThinKiosk.
3.9. The instructions below will guide you through creating a temporary “test” folder and a copy from your production profile to upgrade your lab environment to the newest version of the client.
3.10. Right-click in "Devices" - "New Folder" then type the folder name.
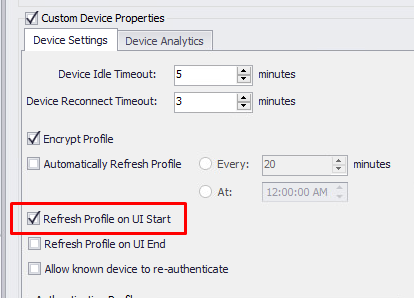
3.11. The option "Refresh Profile on UI Start" below should be already inherited from the "Default Device Properties," if not, please apply the same settings.
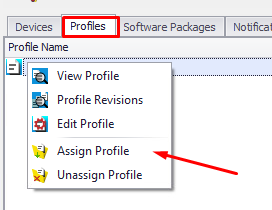
3.12. Go to the “Profiles” section, select your current profile and right-click over, and select “Copy Profile.” Type the new name. A new profile will be created.
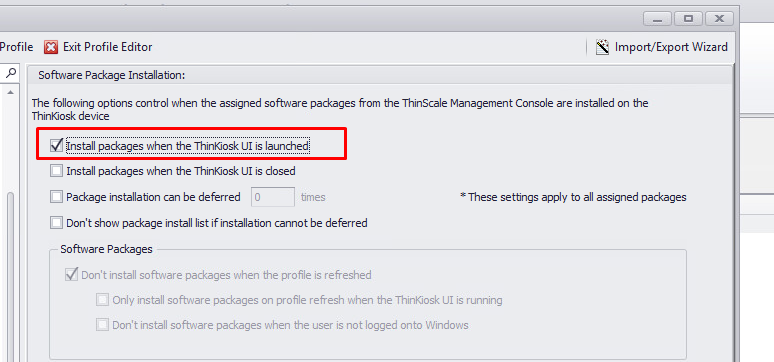
3.13. Please right-click on the new profile, and go to the option on the left side menu called "Software Package Installation." Please select "Install packages when the ThinKiosk UI is launched" and Save it.
3.14. Go to the new folder created and assign the new test profile and the new software package we created. Please verify if other tabs require assigning Auth Providers or Virtual Disk in your environment.
3.15. The folder is ready to receive a test client. Please assign your test machine to the folder, and the software will be upgraded on the next launch in "Silence Mode."
If your test machine upgrades successfully and your internal validation is approved to apply in production, go back to steps 3.11, and 3.13 on your current profile and assign the package to the production folder.
 Success
Finish line! You have completed an entire system upgrade from the server, console, and agents. Take a moment to read the new releases from the console and agents, as well as features you can implement in your environment, from new user-friendly options to additional security levels.